Home

Meet The Teacher

Class Information

Registration

Tuition

Schedule

Curriculum

Philosophy

Contact Me

Songs

Wednesday, April 22, 2015

Spoon Letter Matching

 As we learn our letters, the kids work on learning upper case and lower case letters simultaneously. Here is a great activity the kids worked on to identify their letters and match upper and lower case letters. 


We wrote all the lower case letters on clear spoons and the upper case letters on white spoons. When the kids found the letter matches, they stacked them on top of each other to see both the upper case and lower case letter at the same time. 

After they found all the matches, they worked on putting the spoons in alphabetical order.


Monday, April 20, 2015

P is for . . .

. . . popcorn!

. . . puzzles!

. . . puppets!
Our kids loved playing with our easy homemade puppet theater. It is designed to fit in any doorway and it is pretty simple to make. If you are interested, visit the instructions here. After the kids had their turn, we were so lucky to have a guest teacher join us. My friend Britta teacher preschool near by and I asked her to help me put on a Three Little Pigs puppet show for the kids. We used the fun script at this website. 
Ms. Jeri favored us with a little song. She combined play dough and puppets. It was pretty cute.

. . . play dough!

. . . pizza!


Mother's Day Thumb Print Key Chains

 If you are looking for a cute Mother's Day gift that your moms will actually use, look no further. We actually made these for our moms as a Christmas gift so I have no reservations about posting this before Mother's Day. I don't know if you've noticed, but posting holiday activities before the holiday starts is definitely an area of improvement for me. :) There are many, many other areas of improvement, but we won't go into that right now.
   Anyway, these adorable key chains are super easy, super cute, and super usable. 
We used a tutorial from another blog that I cannot find for the life of me, so if I used your tutorial and you are reading this, please leave me a comment.
   These are very easy, but need to be done ahead of time to leave time for the paint to dry. 


Here's What You Need:
  • Baking Clay (We used Sculpey brand from Walmart) 
  • Heart cookie cutter (or you can free hand the heart shape)
  • Toothpick
  • Large Jump Ring (pliers for opening and closing the ring)
  • Key Chain
  • Paint (We used a metalic paint to give our hearts some shimmer)


Here's What You Do:

  1. Roll out your dough to about 1/4 inch thickness.
  2. Cut out a heart shape bigger than the thumb prints you are using.
  3. Use toothpick to make a hole for the jump ring in the top left corner of the heart.
  4. Use your child's thumb to make a heart print by tilting it to the left, then right, with overlap at the bottom. 
  5. If wanted, etch the child's name and date on the back with the toothpick.
  6. Bake in oven according to the package directions. 
  7. Paint using two layers of paint. 
  8. Pull apart the jump ring with pliers and put it through the whole. Then squeeze it back together
  9. Attach the key ring and there you go! 


A sweet Mother's Day gift that your moms won't throw away once the holiday is over. 


Thursday, April 2, 2015

Easter Activities


For Easter this year, we painted Easter eggs (of the paper variety), we made some Easter bunny masks and played some bunny games. Mostly relay races with eggs. Unfortunately, it rained today so our games were brought inside. The kids had fun having permission to run in the house. : ) We tried to hold the eggs on spoons

and hopped like bunnies to deliver the eggs to a basket. 

Here's how we made our bunny mask, 
Cut a paper plate in half. 
Cut out a spot for the nose and eyes. 
Punch a hole on each side and tie yarn on each hole to be able tie it around the back of their head to stay on. 
Add a pink puff ball above the nose.
Add paper ears.

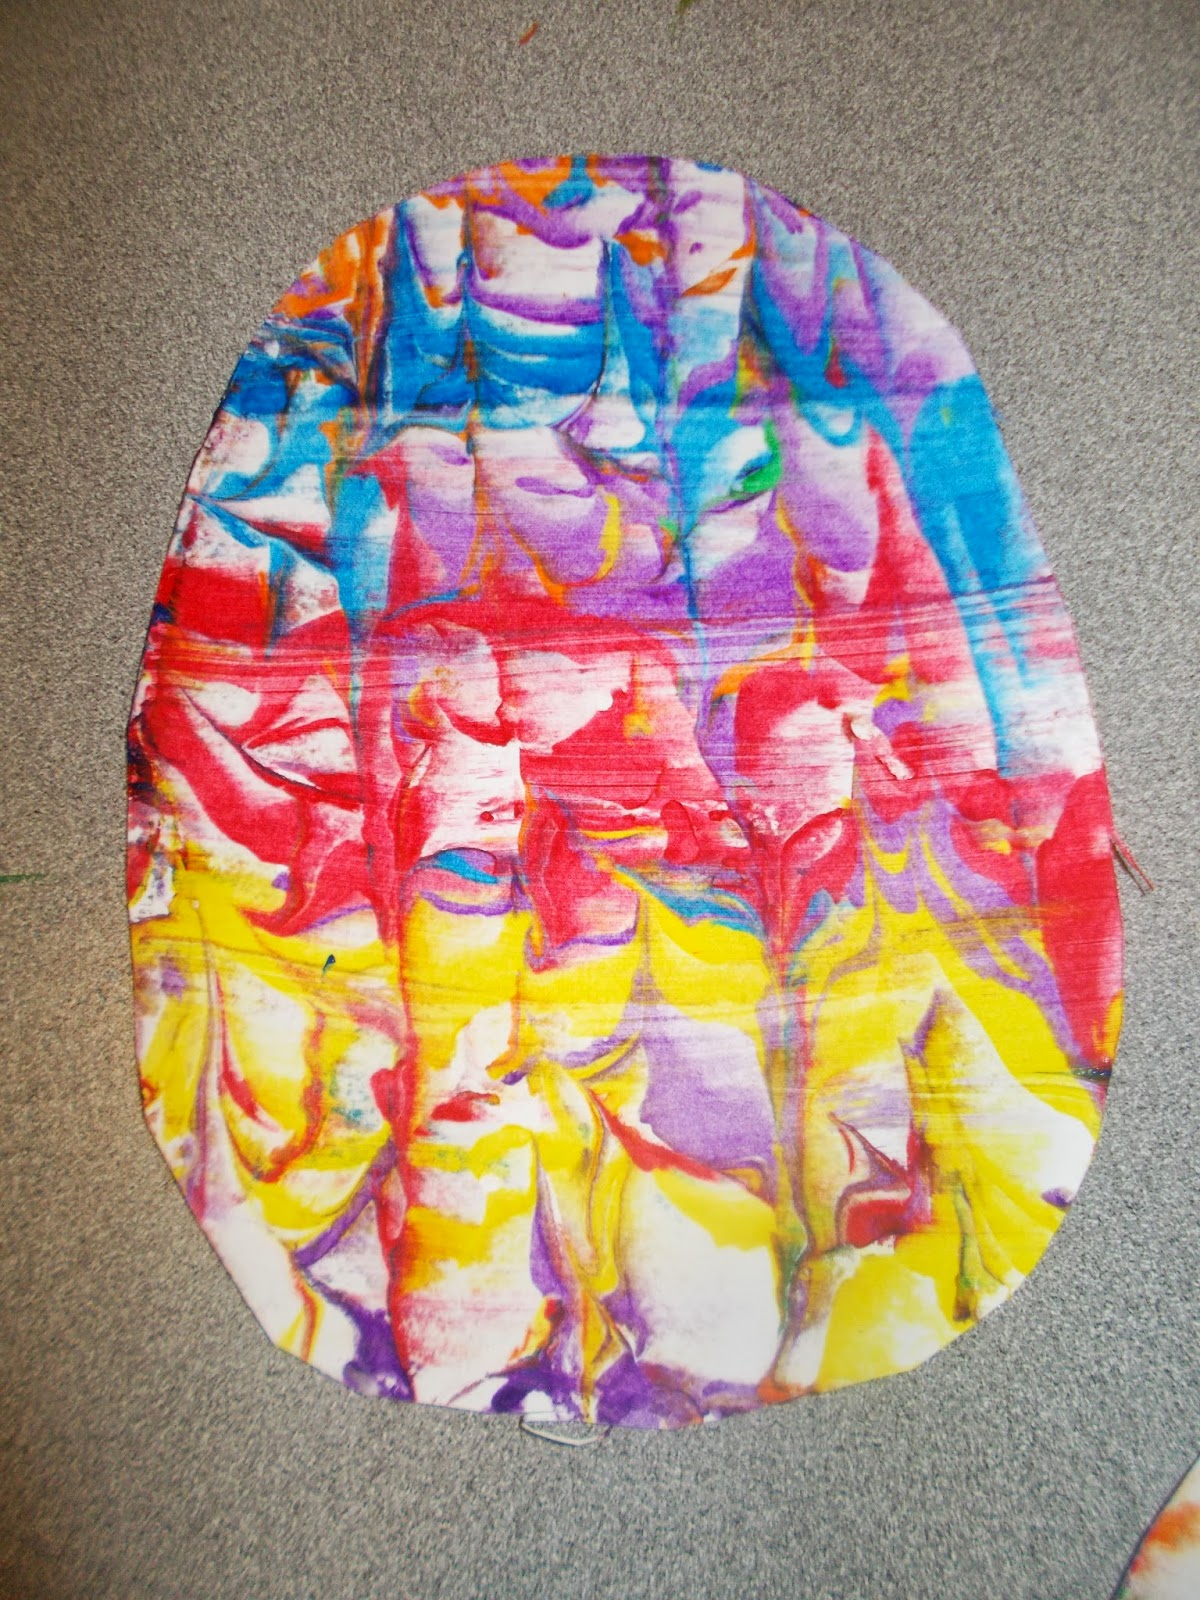
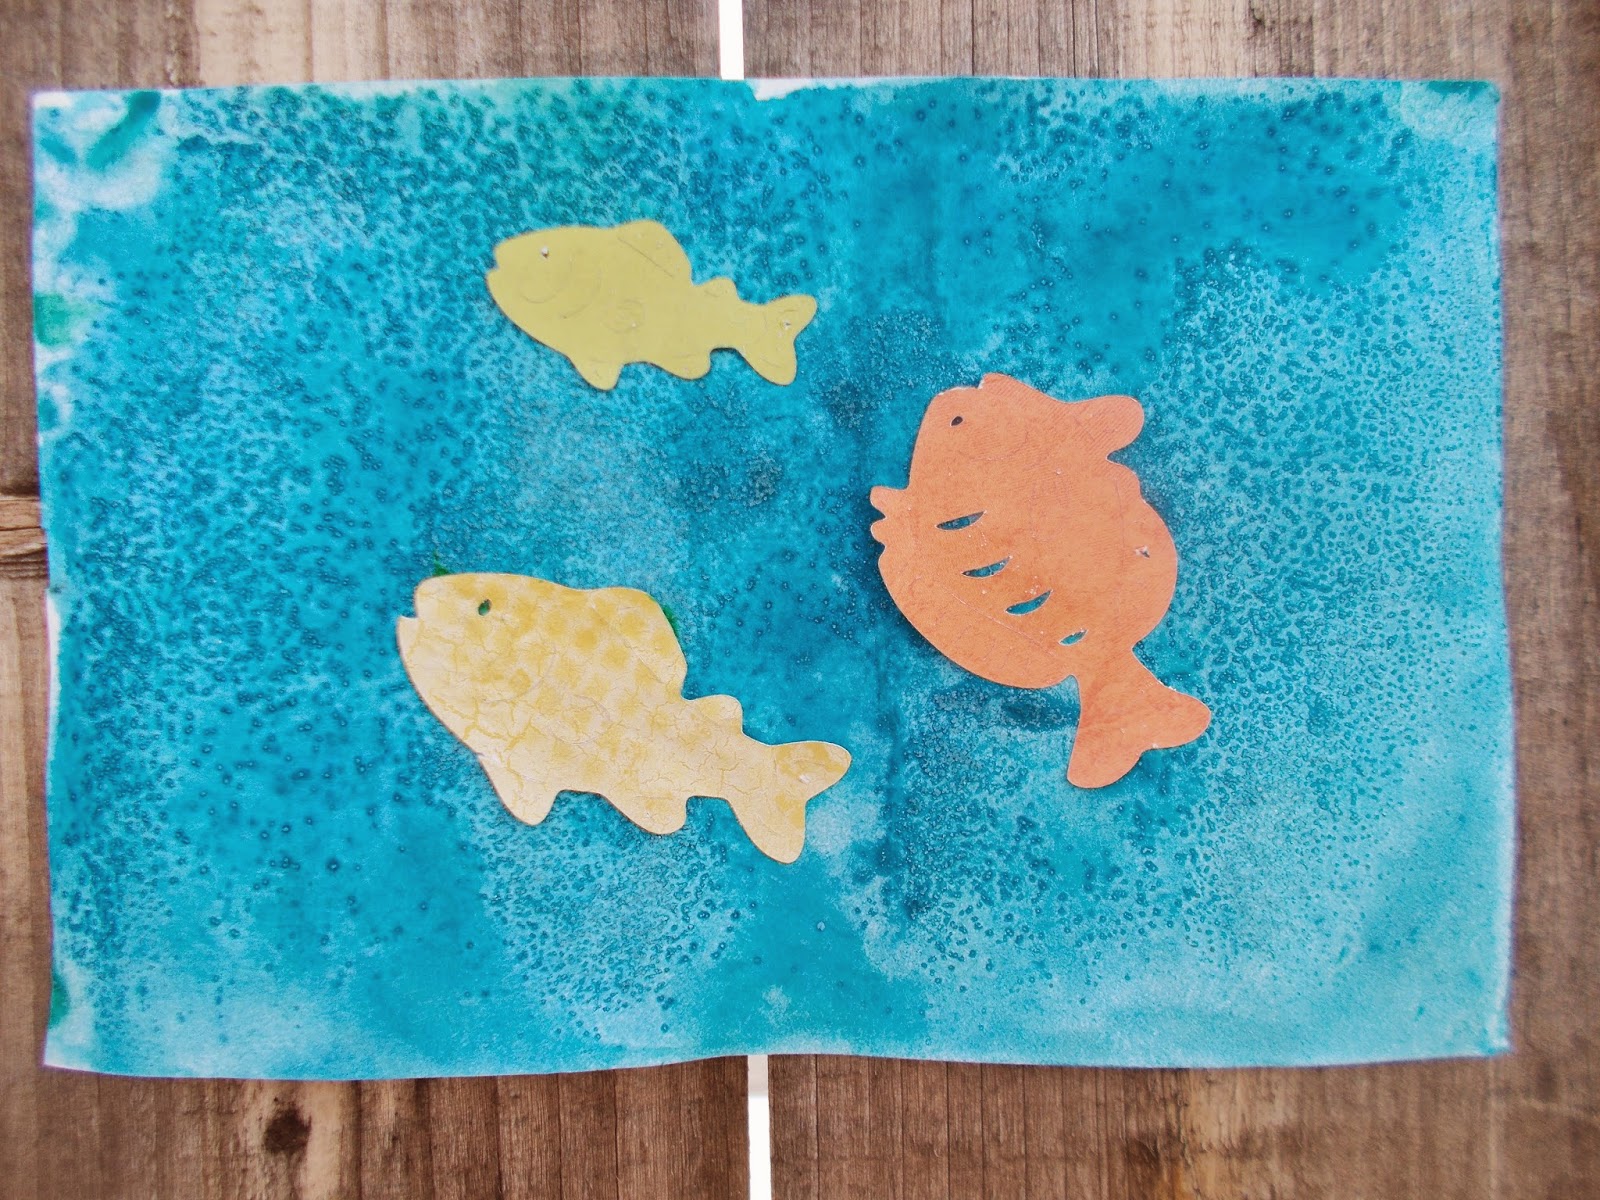
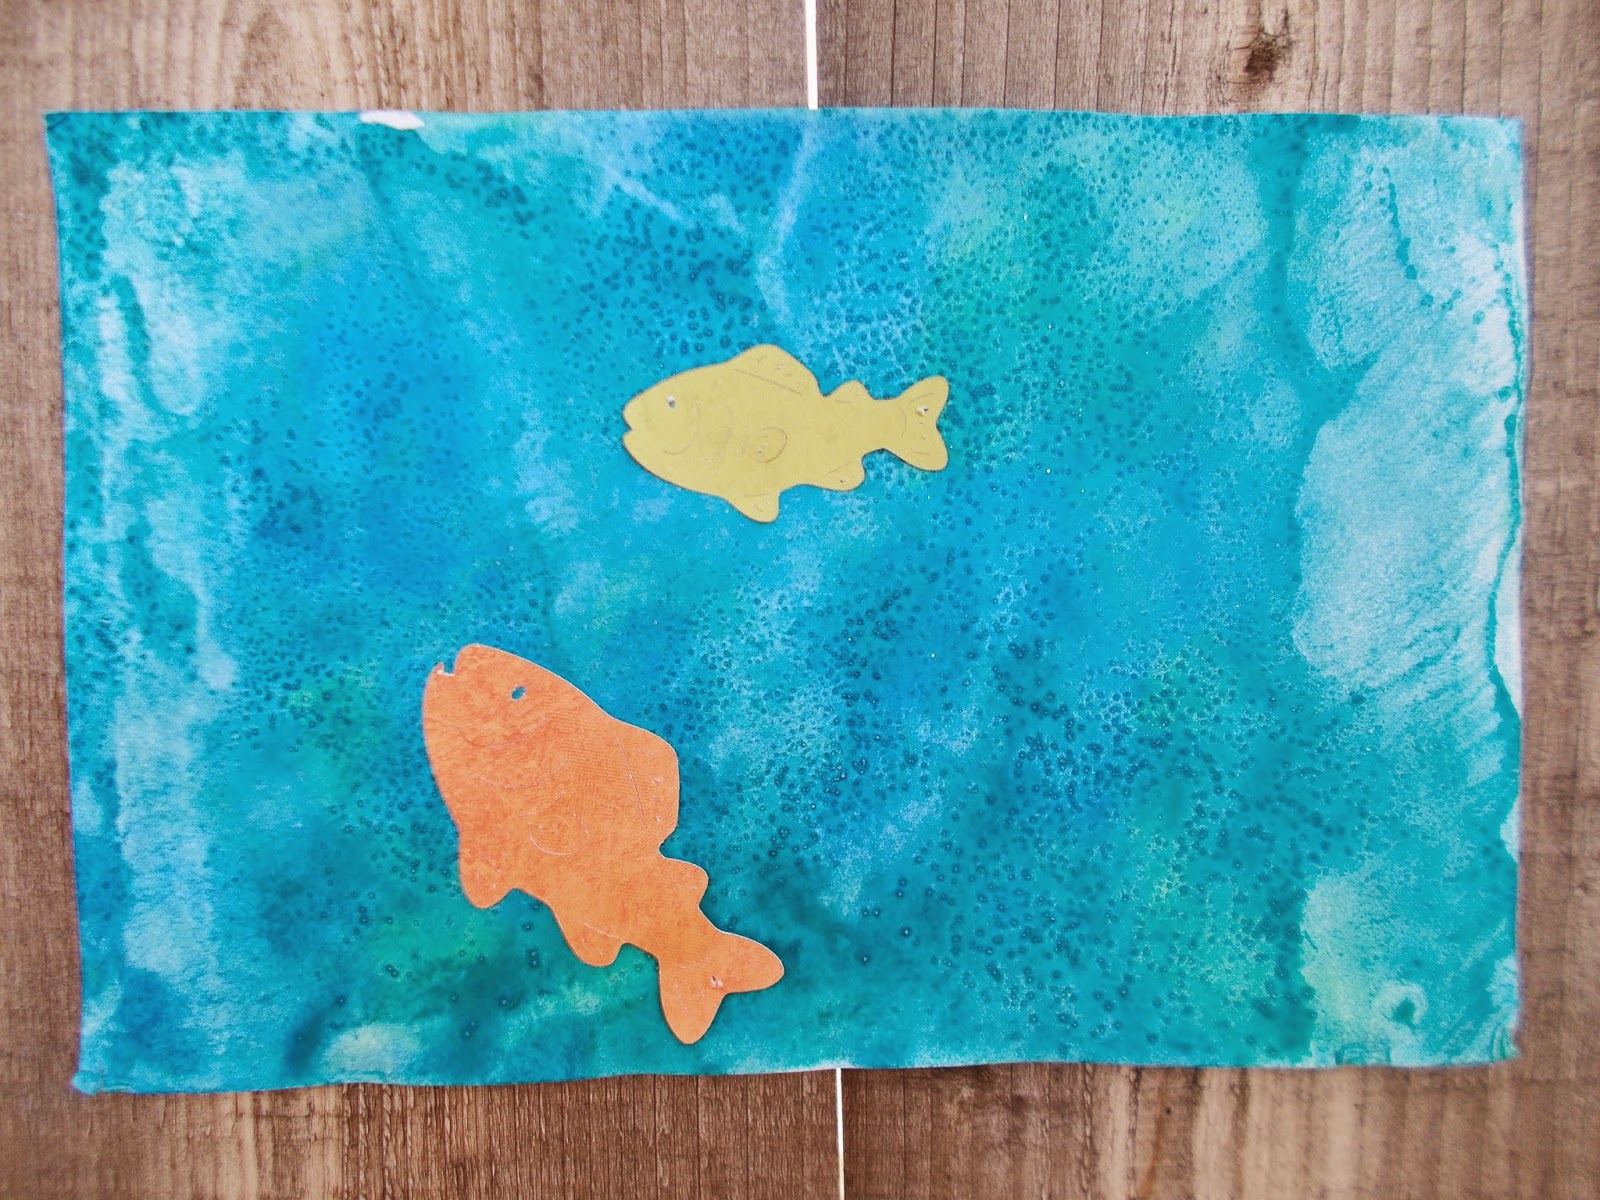
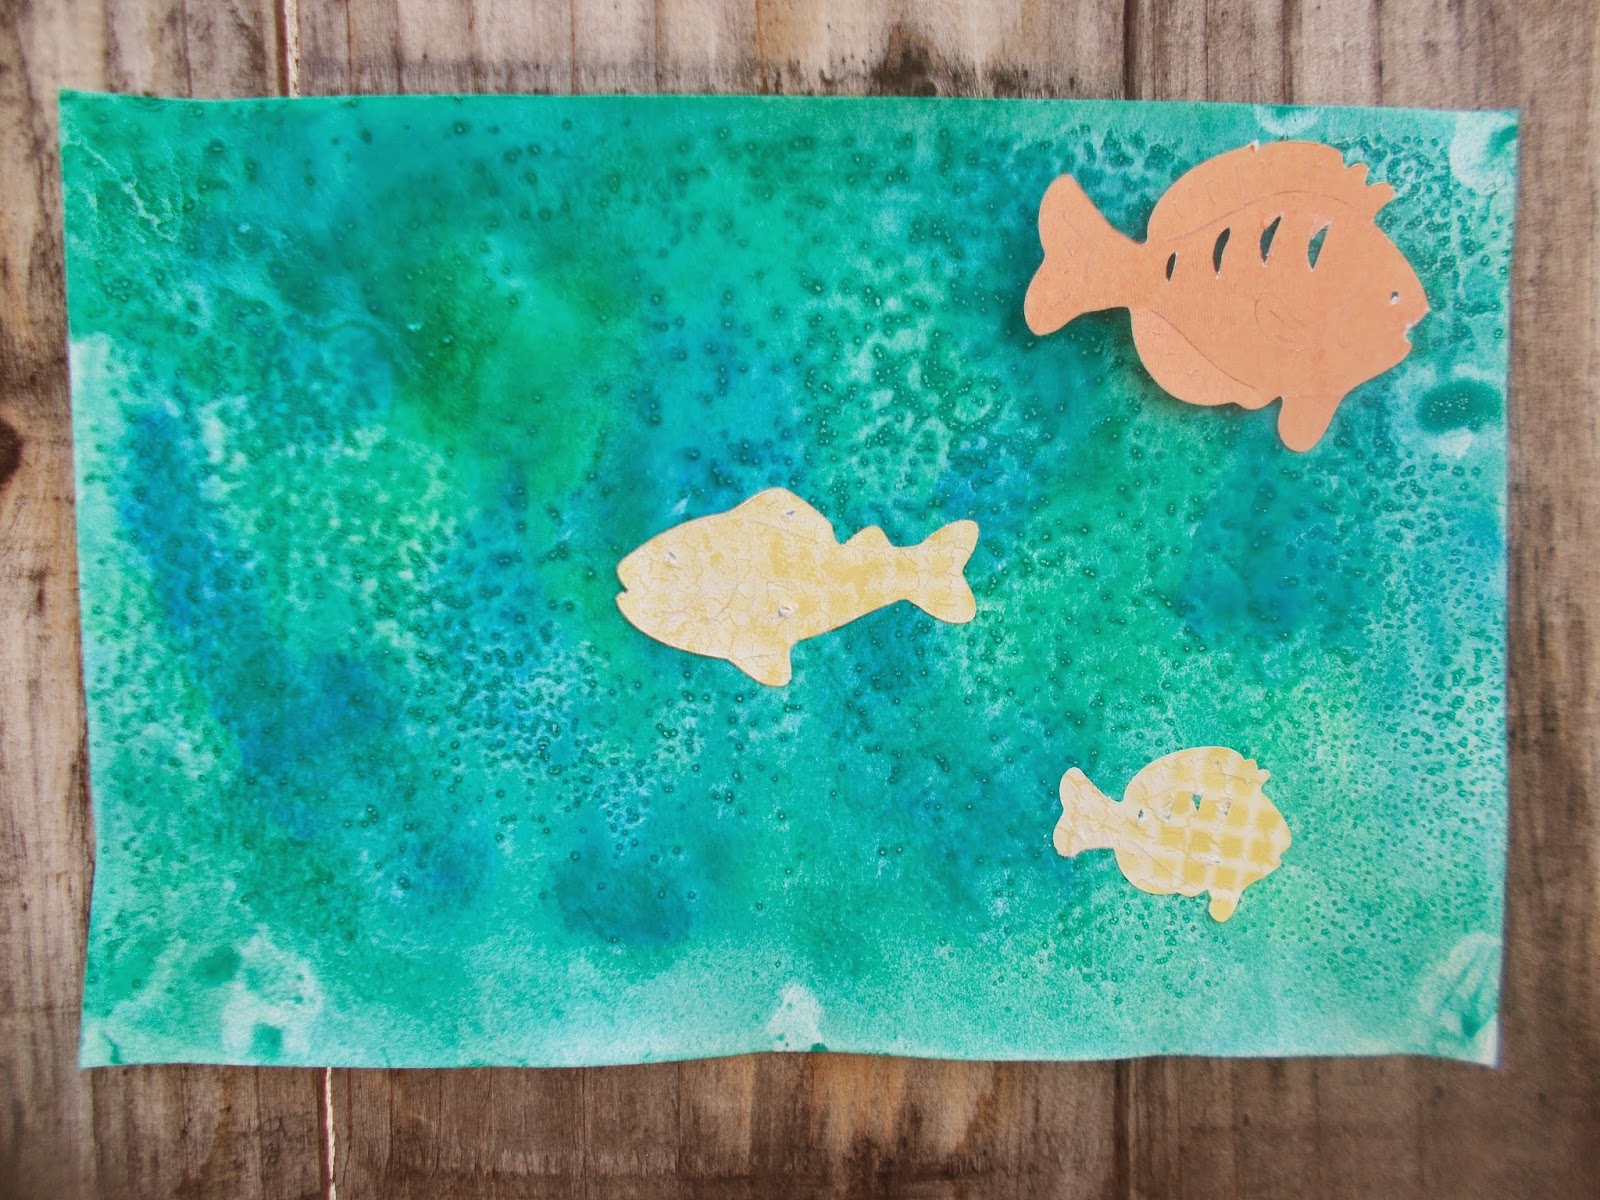
Here's how we made our painted eggs.

We spread some shaving cream into a shallow tray (a cookie sheet would also work for this).
Then we added a variety of paint colors
Using a skewer we marbled the paint by dragging it along the paint from top to bottom, then bottom to top. You could also try dragging it in swirl patterns, waves, whatever your imagination thinks would look pretty. 
Next we pressed a paper egg onto the swirled paint. We made sure to press down on all sides and parts of the egg so that paint got on every inch. Then pulled it out of the paint. 
We let the painted shaving cream sit on the eggs for a few minutes, then used a squeegee to scrap the excess off. 
After that you are left with a beautiful painted marble egg. 

Clear as mud? Feel free to ask if you have any questions!


Happy Easter and spring break everybody!


O is for . . .

So I am a little behind on these posts and I need to pick up the pace a little bit. I have a goal to do two letters a week until I catch up. Wish me luck! :) 
The tricky part about that is some of these posts are going to be a little long.
 But let me tell you, this one is worth it. We did one of the coolest looking art projects we've ever done, and the big thing is that the kids did the work. Sometimes we do cool stuff, but I end up helping with part of it. For this one, I really didn't do much to help and they ended up looking awesome. You'll see as you scroll down. Trust me, it's awesome with color and texture so read on. 
O is for . . .

. . . orange olive paintings in the shape of an o.

 . . .octopus math. Click here. for a free printable. 
(When you click on the link, there are a lot of ads on the page. You want to click the small grey download button right beneath the box that says view document. You will need to sign in to download the paper. You can sign up for a free 4shared account or use your social media outlet to download. Please leave a message below if you have any problems or questions.) 

 . . . ocean art. 
I saw a tutorial for using salt to give a paper a batik fabric feel. When I looked up the tutorial it called for water color paper and liquid water colors. More power to this family for making authentic art, but we are construction paper and tempra paint kind of people over here. (Shhh, but water color paper and liquid water colors are kind of expensive to use for a preschool craft!) So I decided to try it the hard core preschool way - with construction paper and tempra paint. :) The extra cool thing about this way of painting is that each picture ends up really cool in color and texture and each one is really unique. I don't usually take pictures of every child's work, but I did in this case because they were all so cool. Check them out. 


Want to make your own? 

Here's What You Need:

  • paper (we used construction paper, but you could also try card stock you just might have to get it a little more wet)
  • tempra paint)
  • water
  • pipettes or droppers
  • fish cut outs
  • salt

Here's What We Did

  1. Use a paint brush to paint your paper all over with water. Get it wet enough that it can absorb and spread colors dropped on it. 
  2. Water down tempra paint in the colors you want to use. We did green, blue, and teal to give our pictures an oceany feel. 
  3. Use pipettes to drop colors on the wet paper. 
  4. Swirl the colors around on the paper so it covers all the white with your fingers or a brush or by tipping the paper back and forth. 
  5. Blot off any excess paint with another piece of paper. 
  6. Sprinkle salt over your painting and let dry. 
  7. After it has dried, add cut out fish to your ocean landscape.
Pretty cool huh?