Home

Meet The Teacher

Class Information

Registration

Tuition

Schedule

Curriculum

Philosophy

Contact Me

Songs

Showing posts with label Community. Show all posts

Friday, October 21, 2011

Fire Station - 3 Yr. Olds

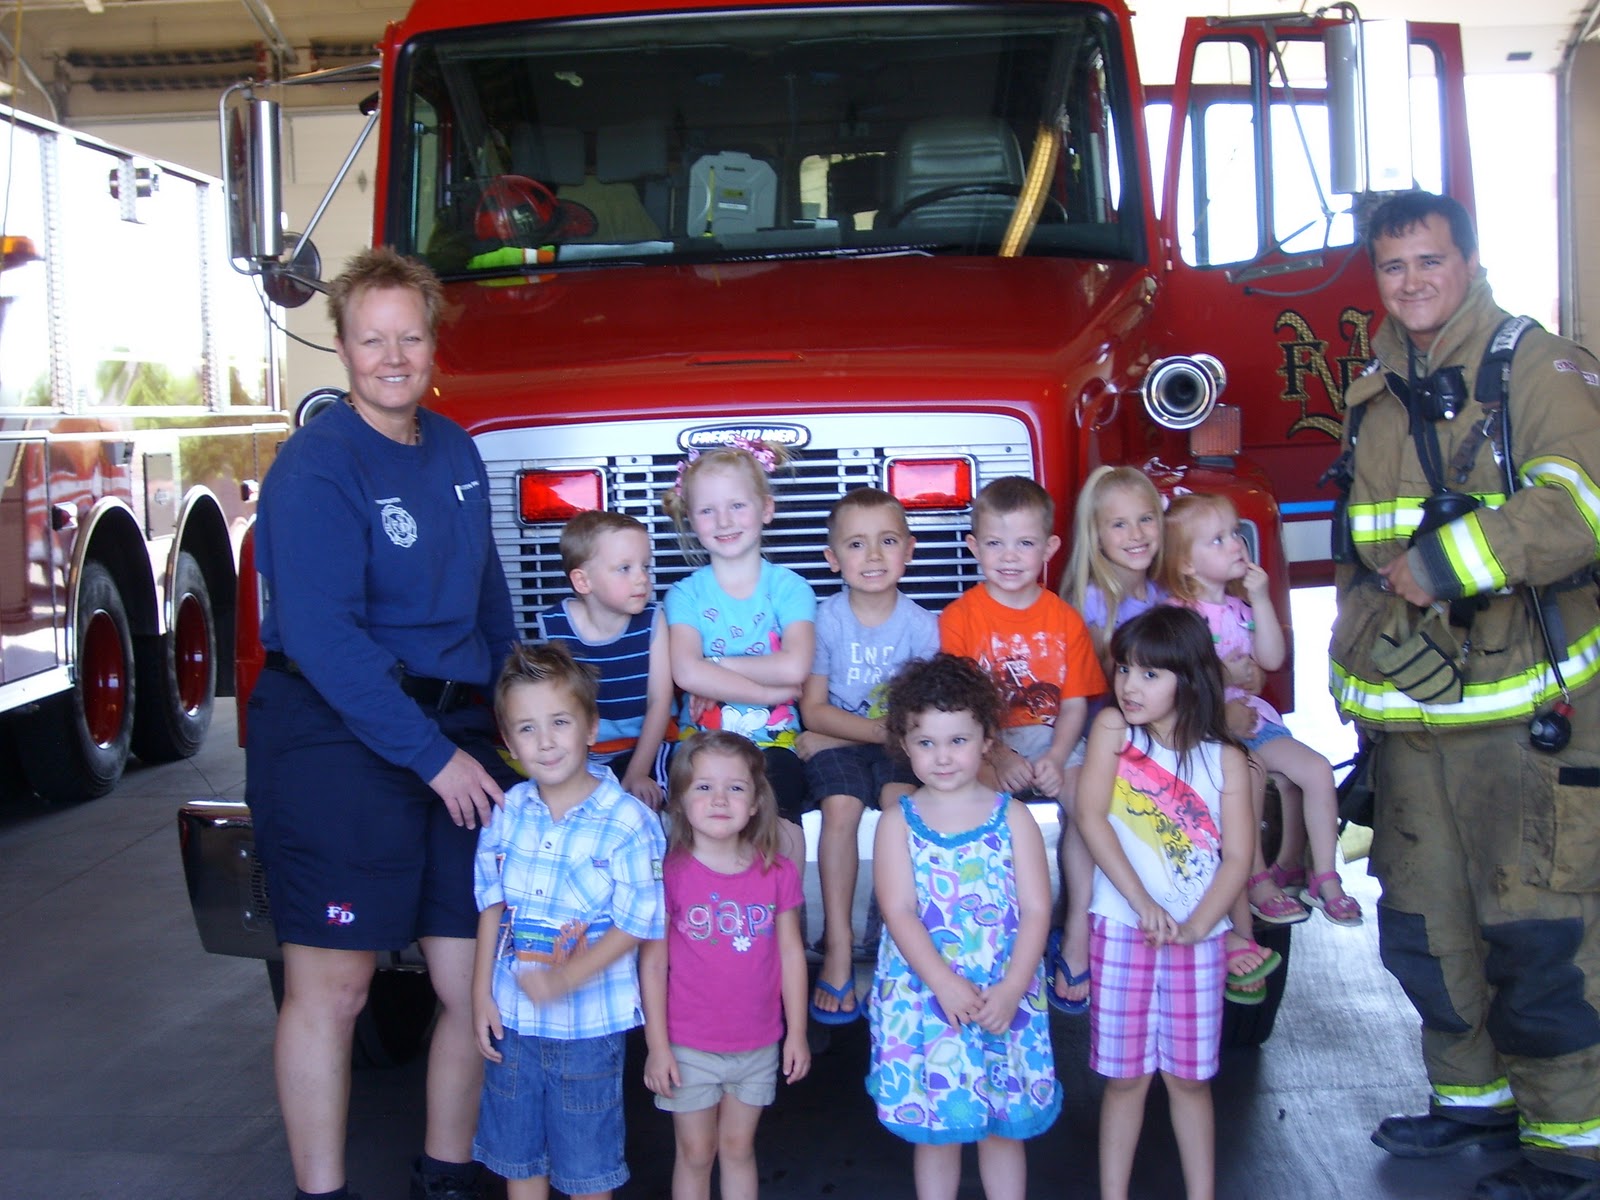
 F is for fire station. We visited our local fire station to learn more about our community. We were given a tour of their station. They showed us their living quarters, kitchen, weight room, and offices. 


 After we saw the inside of the station, they took us to the garage to see their equipment and trucks.


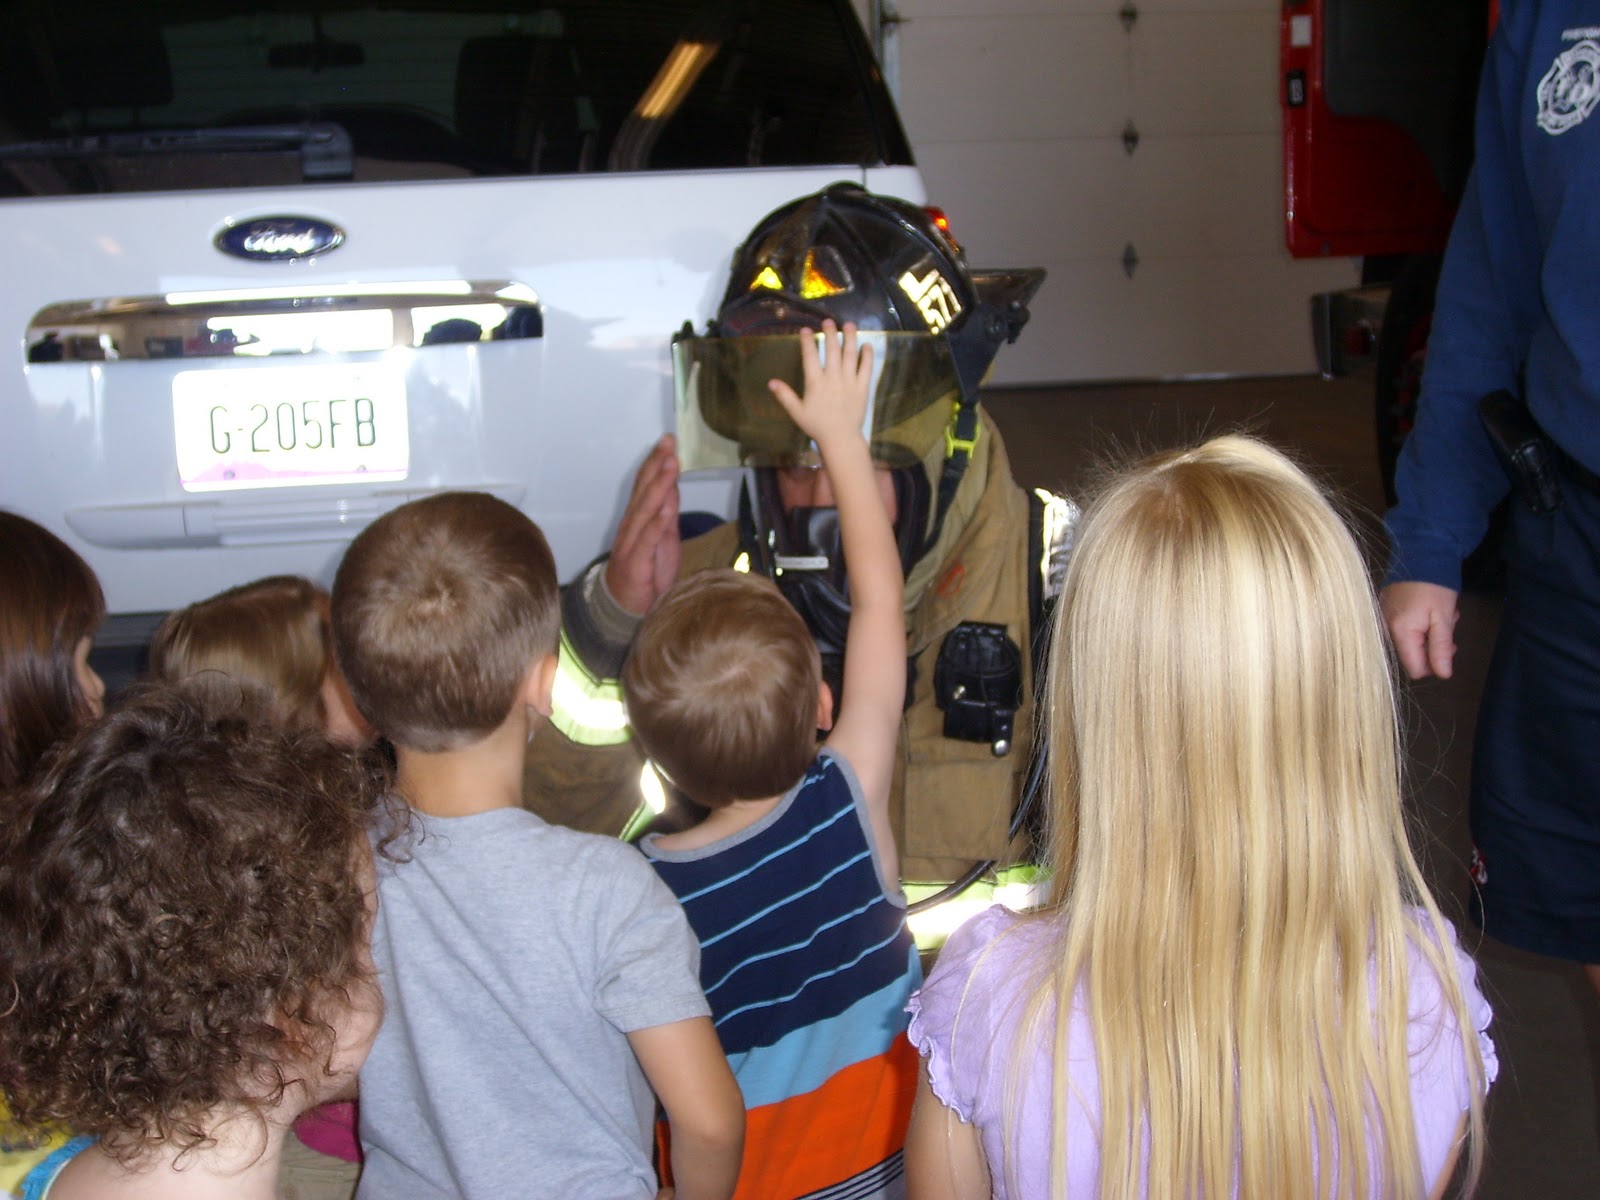
One of the firemen showed us what it looks and sounds like when they have their suits on so that the kids could understand what a fireman might look like if they came to our house. 


As the kids were on their way out, the firemen gave each child a bag of activities and information and their own firefighter hats. 


The trip was a lot of fun and the kids learned a lot. Thanks to all the parents who joined us!


Fire Station - 4 Yr Olds


 F is for fire station. We visited our local fire station to learn more about our community. We were given a tour of their station. They showed us their living quarters, kitchen, weight room, and offices. 


After we saw the inside of the station, they took us to the garage to see their equipment and trucks.


One of the firemen showed us what it looks and sounds like when they have their suits on so that the kids could understand what a fireman might look like if they came to our house. 


The trip was a lot of fun and the kids learned a lot. Thanks to all the parents who joined us!

Monday, September 26, 2011

C is for . . .

. . . cupcakes!

. . . caterpillar chains!

For more detailed instructions see our post here.

. . .community helpers!

To continue our talk about our town, we talked about community helpers this week. I found this really fun book titled Whose Hat is This? by Sharon Katz Cooper that talks about different community helpers.

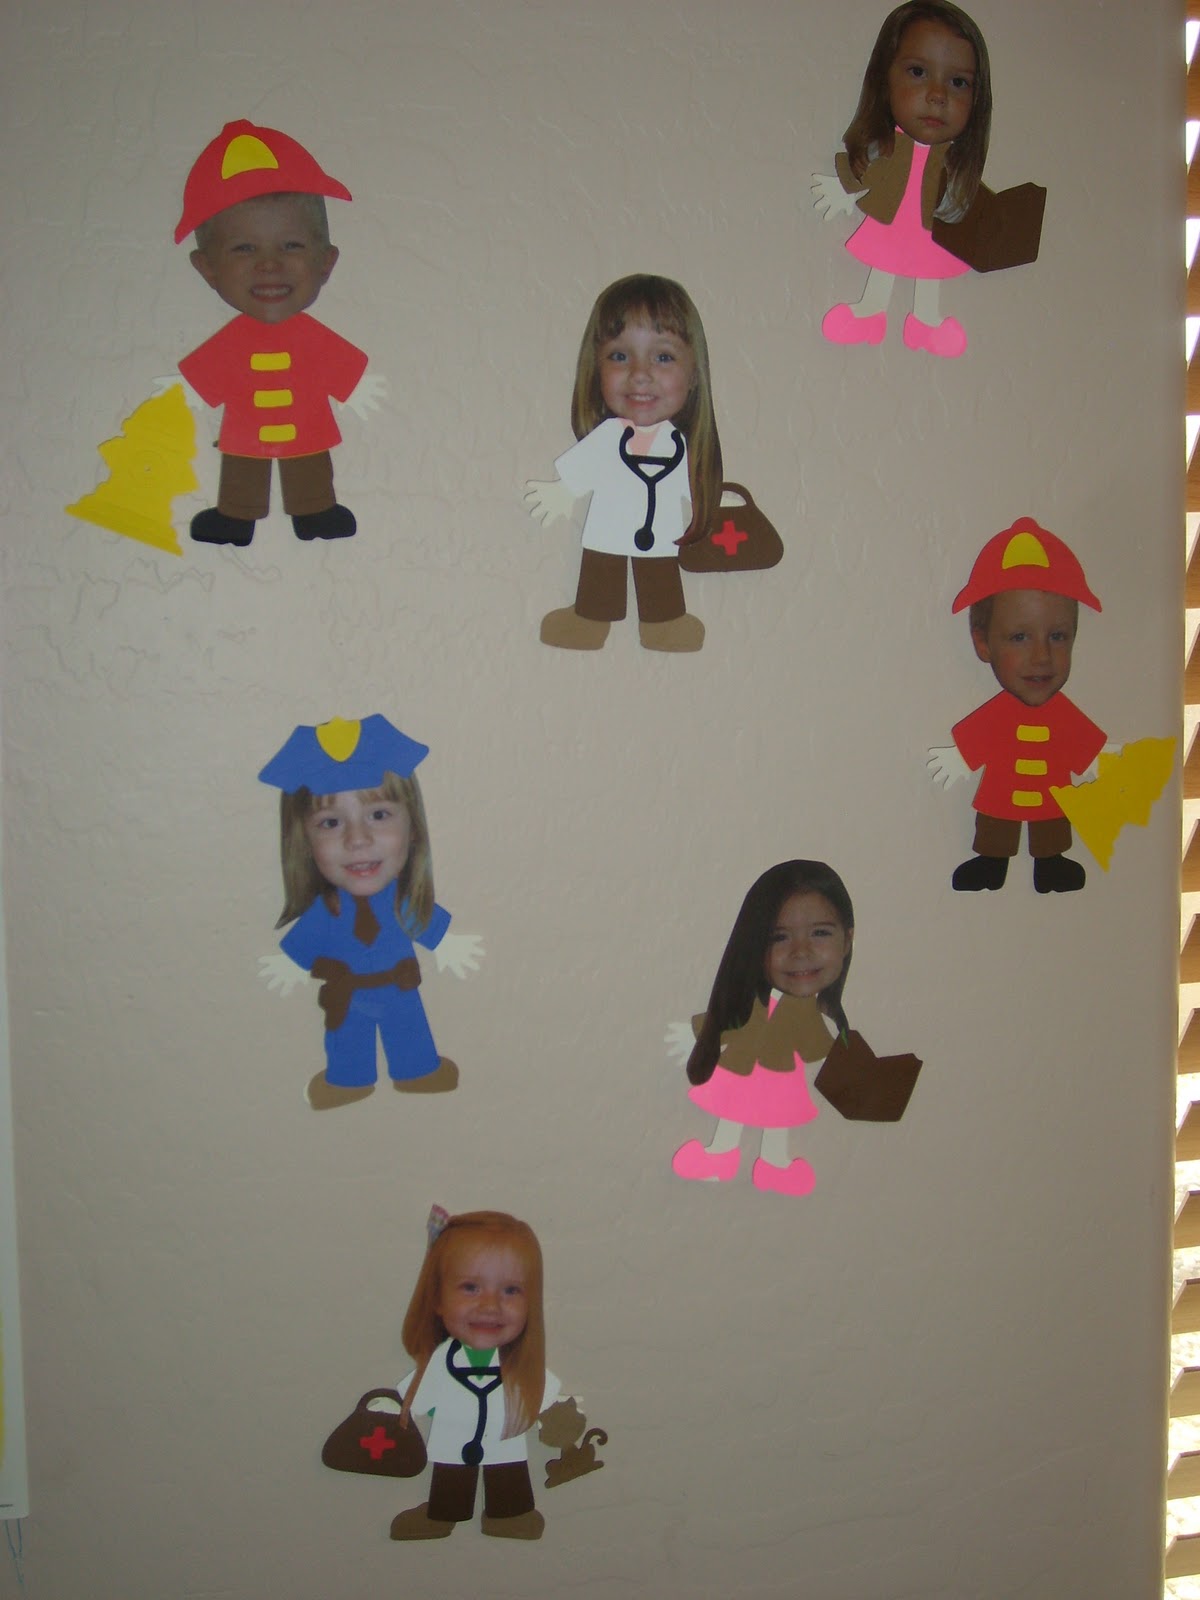
Each child chose what kind of community helper they want to be when they grow up. Then, they made their own paper dolls of themselves. I used the Everyday Paper Doll cricut cartridge to do the cut outs.

Sunday, September 25, 2011

Our Milk Carton Town

This year's theme is "Oh the Places We'll Go." The first place we are visiting is our town. We have been talking about places that we go in our town and also people who make up our community.


To kick off our talk about our town, we made our own town using milk cartons. We read the book Franklin's Neighborhood and talked about the places that we like to visit in our neighborhood. Each child then picked a place to make their milk carton into. The kids made the library, stores, churches, houses, and schools. 


After they made their buildings, they put them on main street (that I drew on a black paper with white crayons) and drove to each others buildings with matchbox cars.

If you would like to make your own milk carton town, here's the details.

Here's What You Need:
  • Milk cartons - 
I got ours from my husband's elementary school class. You could get them from your local elementary school by buying the milk during lunch time or by asking a teacher to collect them for you. Make sure you wash and disinfect them before you use them. (I used bleach water after I washed them out.)
  • construction paper
  • tape
  • glue dots
Here's What You Do:
  1. Cut out two pieces of paper. One for the roof that is brown and one to go around the sides that is white. Our brown one was 3 3/4 X 2 1/4 inches. Our white one was 3 X 9 inches.
  2. Use the glue dots to attatch the brown one up and over the top of the milk carton.
  3. Decorate the white paper with doors, windows, signs, etc then tape it around the sides of the milk carton.
  4. Put your buildings and cars on the streets and get cruisin'.