Home

Meet The Teacher

Class Information

Registration

Tuition

Schedule

Curriculum

Philosophy

Contact Me

Songs

Showing posts with label Letter P. Show all posts

Monday, April 20, 2015

P is for . . .

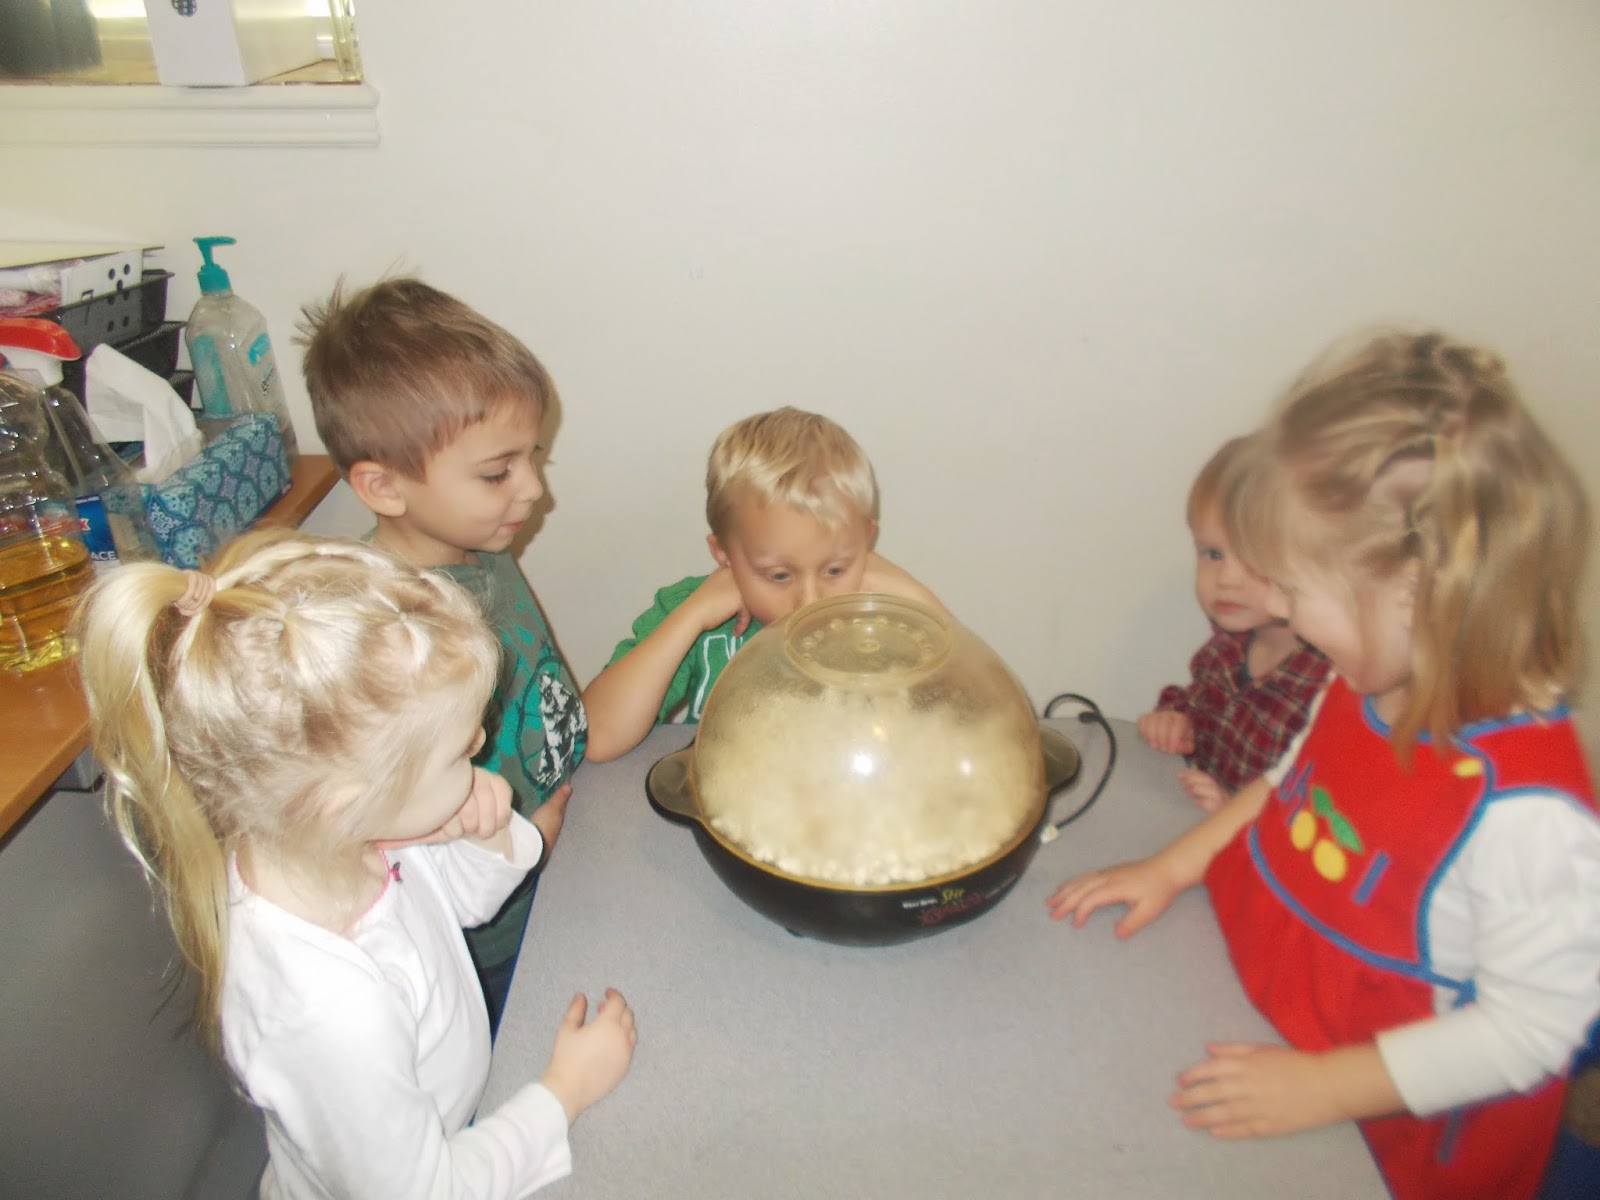
. . . popcorn!

. . . puzzles!

. . . puppets!
Our kids loved playing with our easy homemade puppet theater. It is designed to fit in any doorway and it is pretty simple to make. If you are interested, visit the instructions here. After the kids had their turn, we were so lucky to have a guest teacher join us. My friend Britta teacher preschool near by and I asked her to help me put on a Three Little Pigs puppet show for the kids. We used the fun script at this website. 
Ms. Jeri favored us with a little song. She combined play dough and puppets. It was pretty cute.

. . . play dough!

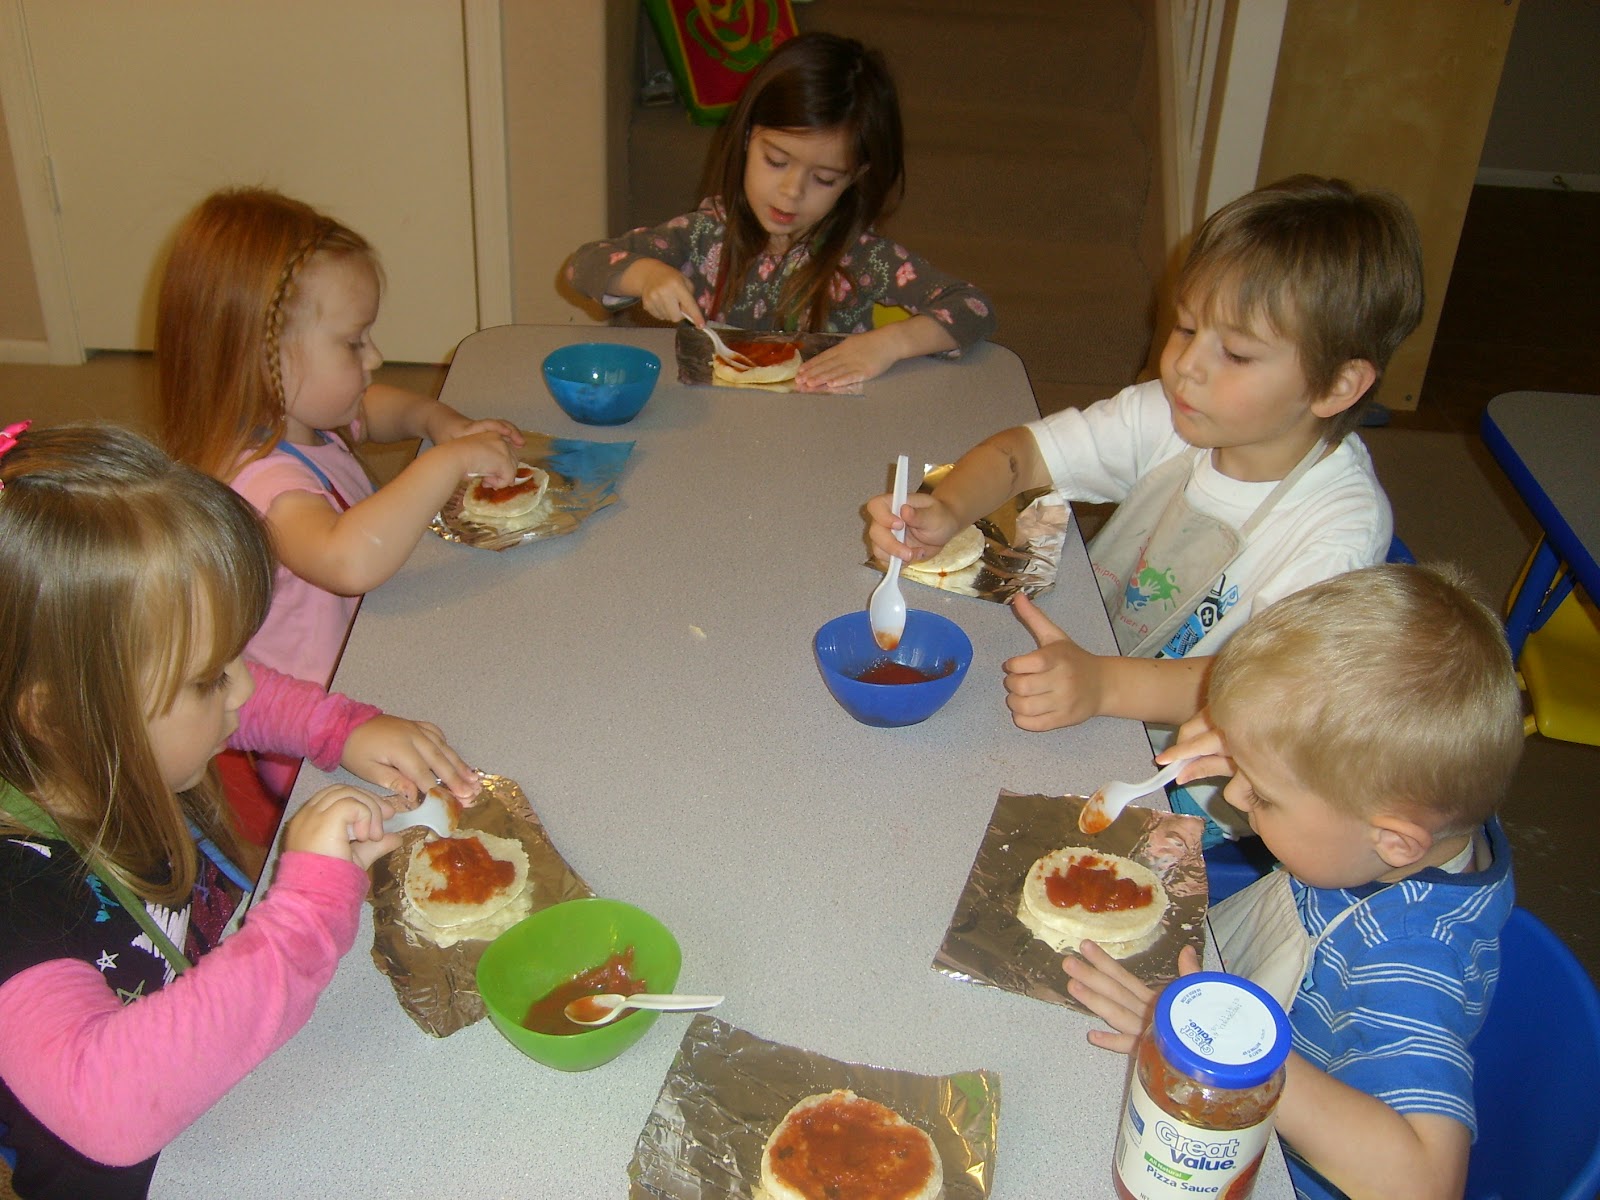
. . . pizza!


Thursday, August 28, 2014

P is for Polite Pig

Classroom manners are an important thing kids learn in preschool. For our first week of school, we learned about classroom manners and rules. 

We read the book This Little Piggy's Book of Manners by Kathryn Madeline Allen. It is an awesome book that compares good little piggies with rude little piggies. The rhythmic words and fun pictures make this one of our favorites!

After we read the book, we made little piggy puppets and practiced being polite with our puppets. We used the pattern found at DLTK's Crafts, here.


Wednesday, April 2, 2014

P is for Platypus

So a platypus is one of those crazy, weird, yet interesting animals. It kind of makes me think that God was in a silly mood the day He made them. Even the name is kind of silly. Okay, pop quiz! Which of these facts are true about the platypus?

a. It consists of a beaver tail, duck bill, & otter feet.
b. When naturalists first discovered it, some thought it was a hoax.
c. It is venomous.
d. It is one of 5 egg laying mammals.
e. There is no universally used plural form of the word platypus. Both platypuses and platypi are acceptable.
f. All of the above.

F is correct! Isn't that crazy?

Of course this unique animal has gotten an extra measure of fame lately due to this amazing show, I'm sure you've heard of it.


We decided to study more about the platypus and make an Agent P Easter egg for letter P week. I mean his name is P and what is more perfect than that for letter P week?


We started at  the National Geographic Kids website and checked out their platypus creature feature page. It includes pictures, facts, a video, and a map of where they live. 

Then we made the Perry the platypus Easter egg from Family fun. The link to the craft is here.


Here's What You Need:

  • Template printed from family fun
  • bottle cap
  • greenish blue egg (plastic or hard boiled)
  • Glue dots
Here's What You Do:
  1. Color and cut out the template. Make sure to draw the crisscrosses on his tail and a band on his hat.
  2. Glue the feet and tail to the inside of the bottle cap. Bend the feet over the edge of the rim so they are pointing down. 
  3. Glue the face and arms onto the egg. Wrap the hat around the top of the egg and glue the two back pieces together with a glue dot. Bend it so it sticks up.
  4. Put your egg in the bottle cap to keep it upright.

We hope you have fun with your own weird, yet cool platypus egg. 

 

Saturday, April 21, 2012

P is for Popcorn & Puzzles


P is for Pizza

English muffin pizzas got a big thumbs up during letter P week.


Wednesday, April 4, 2012

3 Little Pigs Puppet Show

 Kids and puppet theaters are something that should mix often. Watching a puppet show put on by 4 year olds is so awesome. If you haven't seen one, it should be the next thing you put on your bucket list. So much cuteness!  You can see by our audience pictures that it makes for some fun times. 


We have this fun puppet theater that is pretty easy to make and is adjustable to fit into different door frames or walk ways. The post with the information on the step by step is here.


This year we also made our own paper bag pig puppets (lots of letter p's in that project) We used the template from http://www.first-school.ws. 


After the kids had some fun, I asked some of the moms to come in and help me do a puppet show for the kids. We did a funny version of the 3 Little Pigs. It is so much fun to listen to their laughter and to hear them calling out to the characters during the show. One of these days I am going to get someone to record it for me because I want to see their faces. 

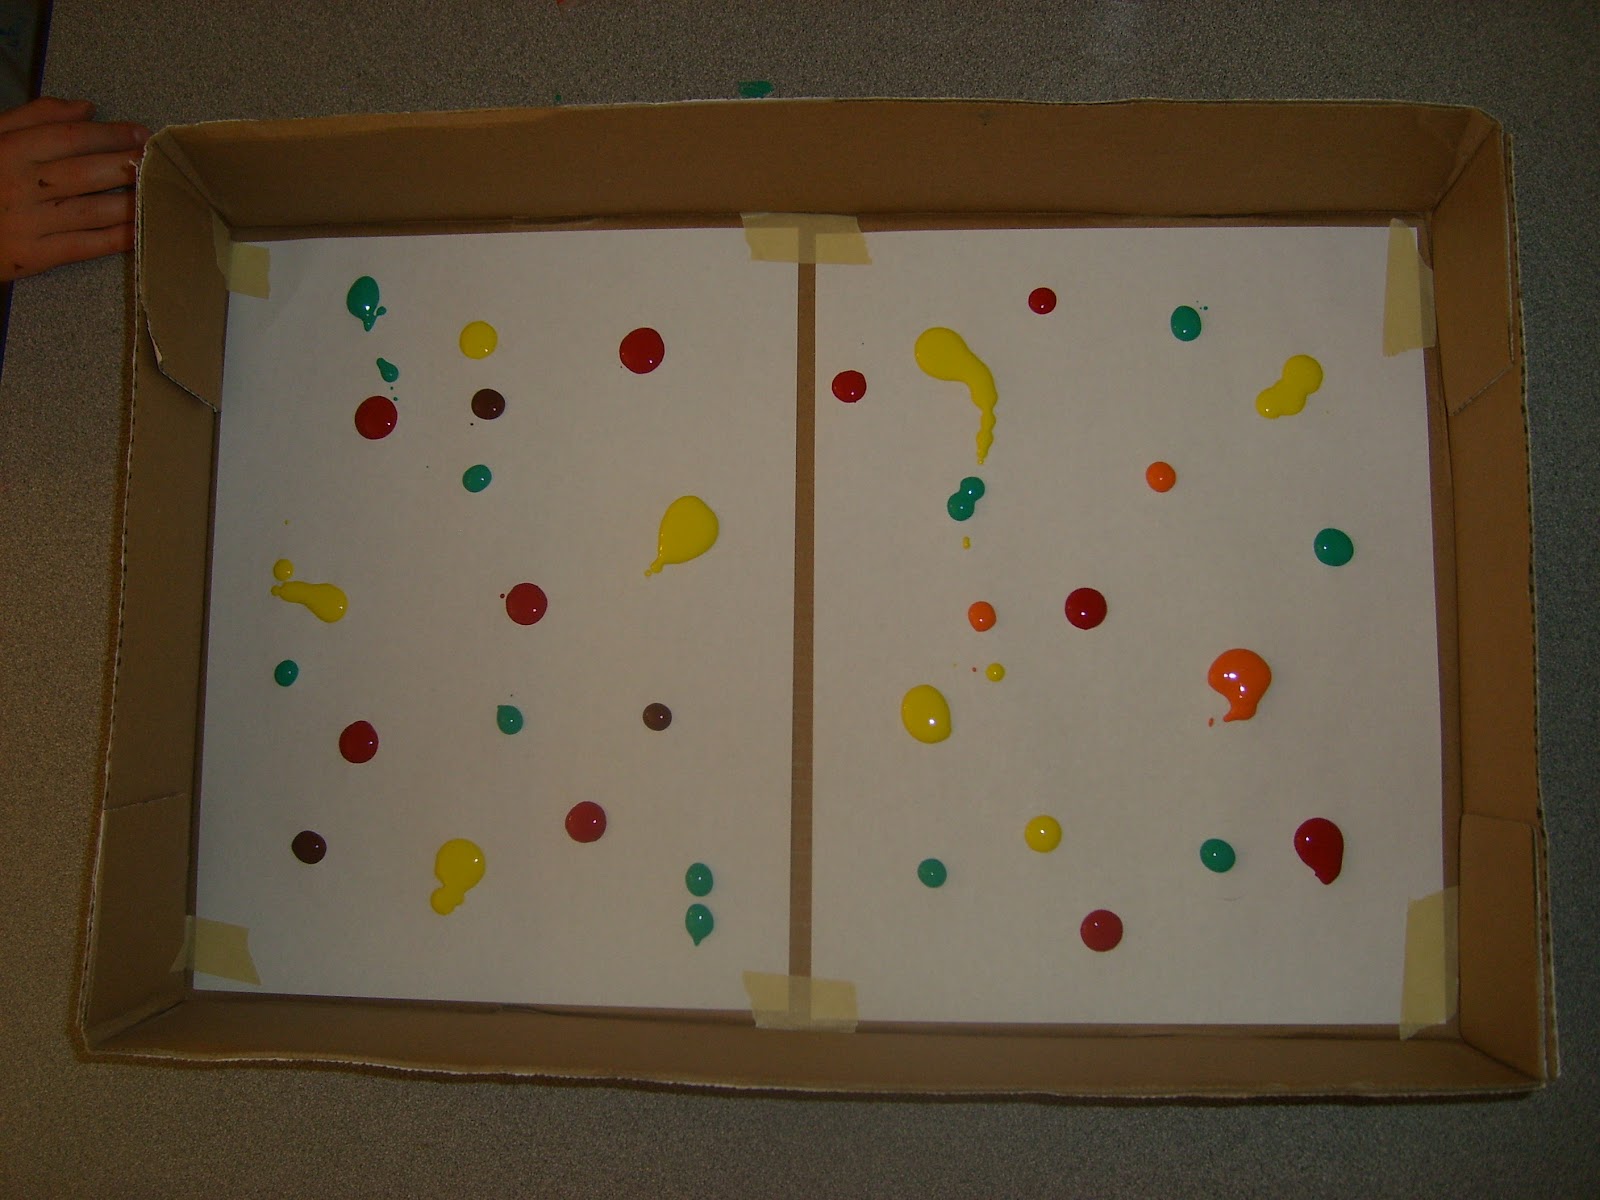
Marble Painting


   P is for paint and M is for marble. This activity was originally scheduled for letter m week, but we had so many other things going on that week that we did it during letter P week instead. It worked out because p is for paint. This is a fun and easy painting project that is relatively mess free. How often can you say that about a painting project? 

Here's What You Need:
A box lid or shallow container like a baking pan 
paper
tempera paint
marbles

Here's What You Do:
  1. Tape the paper down inside of your container.
  2. Dot your paint around the paper. (Small dots work better.)
  3. Put 4-6 marbles into your container and tilt your lid at different angles so that the marbles roll around.  
  4. Take out your marbles and let your project dry. Then take out your new masterpiece. 

Tuesday, November 22, 2011

Popsicle Stick Puzzles

We made some Popsicle stick puzzles today for Thanksgiving. These could be used for any holiday or occasion or letter, they are really versatile. You just change the picture to fit your needs.

 
They are a lot of fun and it was a good combination of fun and challenge for the kids. They got to make their own puzzle to take home and play with over the break. Want to make your own?

Here's What You Need
  • Jumbo popsicle sticks
  • masking tape
  • picture cut to size
  • permanent glue tape (this was a little bit of a splurge, but it saved so much time and was a lot easier than modge podging the picture to the sticks individually, which is another way to affix them.)
  • Exacto knife
Here's What You Do:
  1. Size your picture so it is a little less wide than the popsicle sticks. Then measure how many popsicle sticks you need to cover the up and down length. 
  2. Tape together the sticks needed to back the picture.
  3. Flip the sticks over and attach the picture by doing two strips of the glue tape like what you did with the masking tape then put your picture on top and press it down.
  4. Have the kids color the picture. The more color they use, the better. If they color the whole picture one color, it makes it harder to put together. I encouraged the kids to color every feather and part of the picture a different color. 
  5. Flip the picture over again and put a couple of layers of cardboard underneath it. Use an exacto knife to cut between the popsicle sticks and through the paper.
  6. Give the pieces back to the kids and let them put the puzzle together! 

Saturday, November 19, 2011

Planet Mobiles & Magic Painting


One of the questions that both classes asked on our KWL chart was "What planets are there?" To study it a little more we made these simple planet mobiles. 

They aren't traditional planet mobiles. It isn't completely scientifically accurate, but I have my reasons for doing it this way- Preschoolers don't really have a concept of really long distances and I wasn't interested in comparing the planets' distance from the sun, I wanted to compare the size of the planets and count with the kids how many there were all together. So, this is definitely a preschool planet mobile because it is linear instead of 3-D. 

Anyway, we used this to discuss the different planets, the size of the planets, we compared their sizes and counted the planets. We also discussed how earth is the 3rd planet.  

Before we attached the planets, the kids made magic painting. As they painted, suns and moons and stars magically appeared on their paper. If you ever choose to do magic painting with your kids be prepared to hear words like, "Whoa!" and "It's magical!" and "Zowie wowie!" I kid you not, these are some of the things that the kids said while they were painting. 

To make your own magic painting, draw a picture on a white paper using a white crayon and then paint the paper using water colors.

Here's What You Need:
  • a long strip of white card stock paper with magic painting on it (see above instructions). I just cut 3 inch strips on the card stock and stapled two together.
  • water color paints
  • black pipe cleaners
  • tape
  • pictures of the planets - I used these three links which I found on first-school.ws but it's kind of complicated to get to so I hope these links work for a while. : )
 Here's What You Do:
  1. Paint your magic painting strip with water colors and let dry.
  2. Cut out the planets.
  3. Tape planets to 1/4 of a black pipe cleaner and then to the painted strip of paper. 

Wednesday, November 9, 2011

Jack-O-Lanterns


I saw this idea on http://www.dltk-kids.com/, but I wanted to re-post it because they are so adorable and I wanted to add a little more detail to the instructions. The first time we made them, they didn't quite go as planned. However, these pumpkins are really easy and fun to do.

Here's What You Need
  • Clean, clear 2 liter soda bottle
  • Orange paint
  • Water
  • Yellow felt or foam paper with a sticky back
  • Green felt
  • Yarn or twine
Here's What You Do:
  1. Put a little bit of water (about a teaspoon - if you add too much, your paint won't stick to the sides) in the bottom of the soda bottle.
  2. Pour some orange paint in. (About 1/4 of a cup)
  3. Tighten the lid and shake it up. If the paint isn't covering the sides sufficiently, add more paint or more water.
  4. Cut out jack-o-lantern faces and stick to the outside of the bottle.
  5. Cut a circle of green felt with about a 5 inch diameter. 
  6. Use the yarn to tie the felt around the top of the bottle.

Friday, August 26, 2011

This Little Piggy

We talked about our class "rules" using the book This Little Piggy's Book of Manners. It is a really cute
book comparing little piggies who use their manners and those who don't with lines like "This little piggy shared her toys. This little piggy said 'MINE!'"

After reading the book, the kids practiced using good manners so they could be good little piggies too. In the older class some kids used good manners and some didn't then the rest of the kids had to decide if they were being good little piggies or not.

After, the kids drew pictures of piggies who were using good manners at school.

To make the noses I covered half of a toilet paper roll with pink craft foam. I taped the foam around the outside of the roll and glued a circle on the front. For the ears, I put some foam triangles on the top of a headband. To help it look a little more pig-ish, I folded in one of the corners of the ear.

Wednesday, March 16, 2011

Letter P is for . . .

. . . Puzzles. It was puzzle mania during centers this week, we had puzzles of all different sizes and shapes.
. . . Puppets. For more information on our puppet fun, check out our post found here.


. . . Puppy Patterns.

We made patterns using little plastic dogs this week. Essentially you could make patterns out of anything that you have a lot of in different shapes or sizes. (Buttons, noodles, blocks, plastic toys, etc.) Since it was letter P week, we used puppies. I made strips of papers with patterns using the colors of the dogs. They matched each dog to each color. At the end, the kids had to figure out which puppy came next. Then, they had a strip with no colors where they could make their own pattern (or maybe just play with the puppies : )

. . . Popcorn!
. . . Pepperoni Pizza! We made some for snack and sang the song, "I Like to Eat Pepperoni Pizza."

. . . Pretty Pennies! We shined pennies to make them nice and Pretty.

Here's What You Need:
4 tbsp Vinegar
1 tsp salt
vegetable oil
rags

Here's What You Do:
1. Mix together the salt and vinegar in a small bowl.
2. Drop in your pennies. If your pennies don't become instantly clean, stir them a little with a wooden spoon.
3. Polish them with the rag and a drop of vegetable oil.