

So once upon a time I lived and taught in Arizona and when it was letter k week, it was January or February and the weather was beautiful and in the 70s. We found ourselves celebrating kite day like this:

Well, now I live and teach in Utah and when letter k day comes around, outside looks more like this:

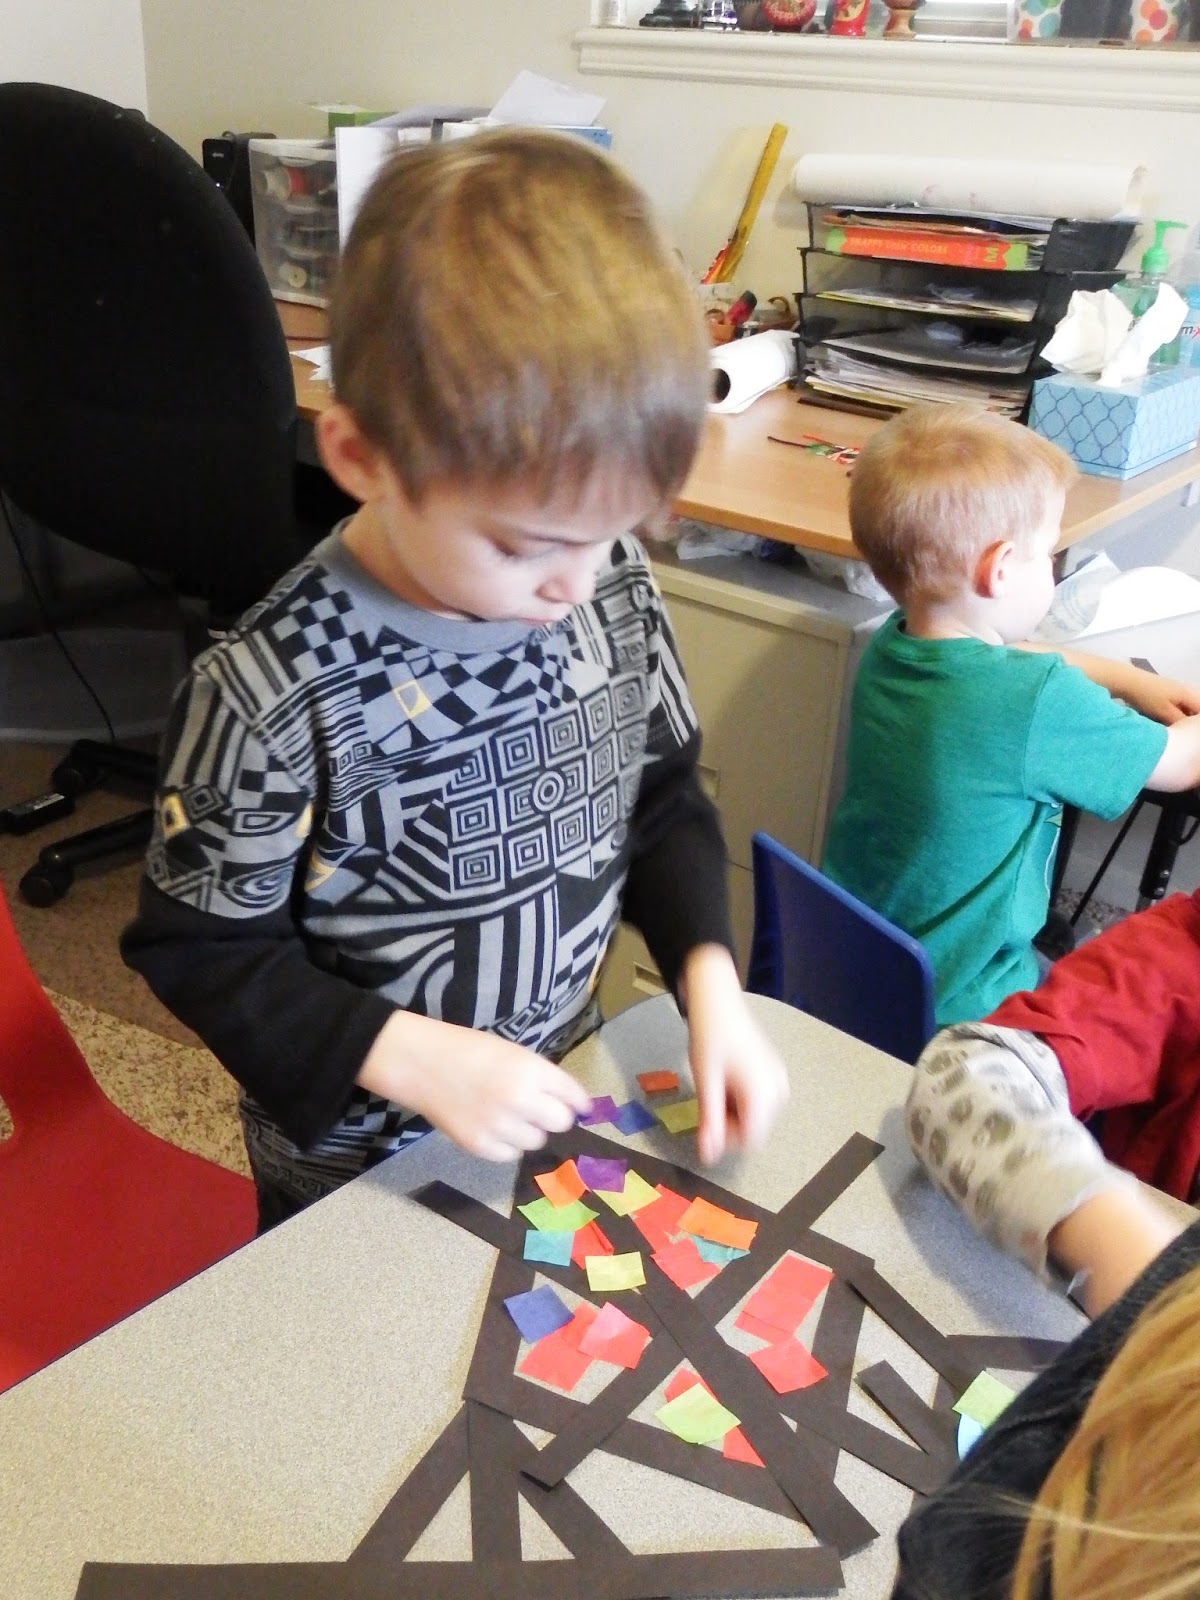
So our days of making real kites to go fly outside are over and we had to settle for pretty, artistic kites. It's okay, because the kids loved their pretty (non functional) kites too and pretended to fly them around the room. Here are some pictures of how we made our kites. I used the tutorial at Make and Takes.

Here's What You Need:
- clear contact paper
- black construction paper
- multicolored tissue paper squares
- yarn
- letter K cut outs

Here's What You Do:
Cut out a kite frame from the black construction paper and lay it on top of the sticky side of the contact paper leaving the inside sticky.
Cut the excess contact paper from the outside of the frame, but leaving the sticky inside.
Cut out black strips for the support "rods"
Lay the strips across the frame in whatever pattern you want. 

Put the tissue paper squares on the sticky part of the contact paper inside the frame and cover completely.


Your end product will look something like this:

Glue the letter ks to the yarn

Tape the yarn to the back of the kite.

Cover the back with contact paper so the kite is sandwiched between the first layer and this one. This holds the tissue papers in place.
Cut the excess black strips and contact paper off.


No comments:
Post a Comment