Home

Meet The Teacher

Class Information

Registration

Tuition

Schedule

Curriculum

Philosophy

Contact Me

Songs

Showing posts with label Letter R. Show all posts

Thursday, May 7, 2015

R is for Rainbow


Pipe cleaner, large marshmallows, and fruit loops. 

Tuesday, May 1, 2012

R is for Robot


We had a fun time making these toilet paper roll robots for letter R week. Each day when the kids come in, they write their name then answer a question. The question of the day that day was: If you had a robot, what would you make it do for you? The answers were so cute: make cookies, clean, dance, make me a robot . . .  After, we made these fun little guys.


We talked about how robots work and how they are made of parts. We read this adorable book that has gears and other things you can play with on each page.


Then the kids made their own adorable robot. We started by painting our toilet paper rolls the day before. Then the kids drew their "switch board" on a piece of card stock and attached it with mini brads. We added other features like arms, eyes, and an antennae.  The only bummer part was that they didn't move by themselves. : )


Want to make your own?

Here's What You Need:
  • toilet paper roll
  • paint
  • toothpick
  • card stock
  • pipe cleaner
  • hole punch
  • mini brads (optional)
  • foam stickers (optional)
  • mini hole punch (optional)
Here's What You Do:
  1. Paint your toilet paper roll and let dry. (You can do inside and out if you prefer.)
  2. Draw a switch board on a piece of card stock or paint it onto your toilet paper roll.
  3. Attach your switch board to your roll with glue dots (liquid glue doesn't dry fast enough and it won't stay curled around the roll) or with mini brads (it's best to punch the holes first with the mini hole punch)
  4. Attach foam sticker eyes or paint some on.
  5. Draw a mouth.
  6. Punch two holes in the side for the arms. Slide a pipe cleaner through so it sticks out on both sides. Curl the pipe cleaner around a pen or pencil to make the arms stay in place.
  7. Tape a circle cut out to the toothpick then tape it to the inside, top of the roll.


* The original idea for this project was found in a Family Fun magazine.

Sunday, April 22, 2012

R is for Ribbon Dancing & Rubberband Rectangles

 For a tutorial on how to make your own ribbon dancing sticks, click here. 

These rubberband rectangles were more of a process than an end. It was so funny to watch the kids show their project to their parents and to watch the parent faces with either a look of confusion or feigned admiration while thinking, um what is that? The kids had a fun time turning their project into something fun, like a table for their barbies or a wrestling ring for their action figures or a pen for their animals. 


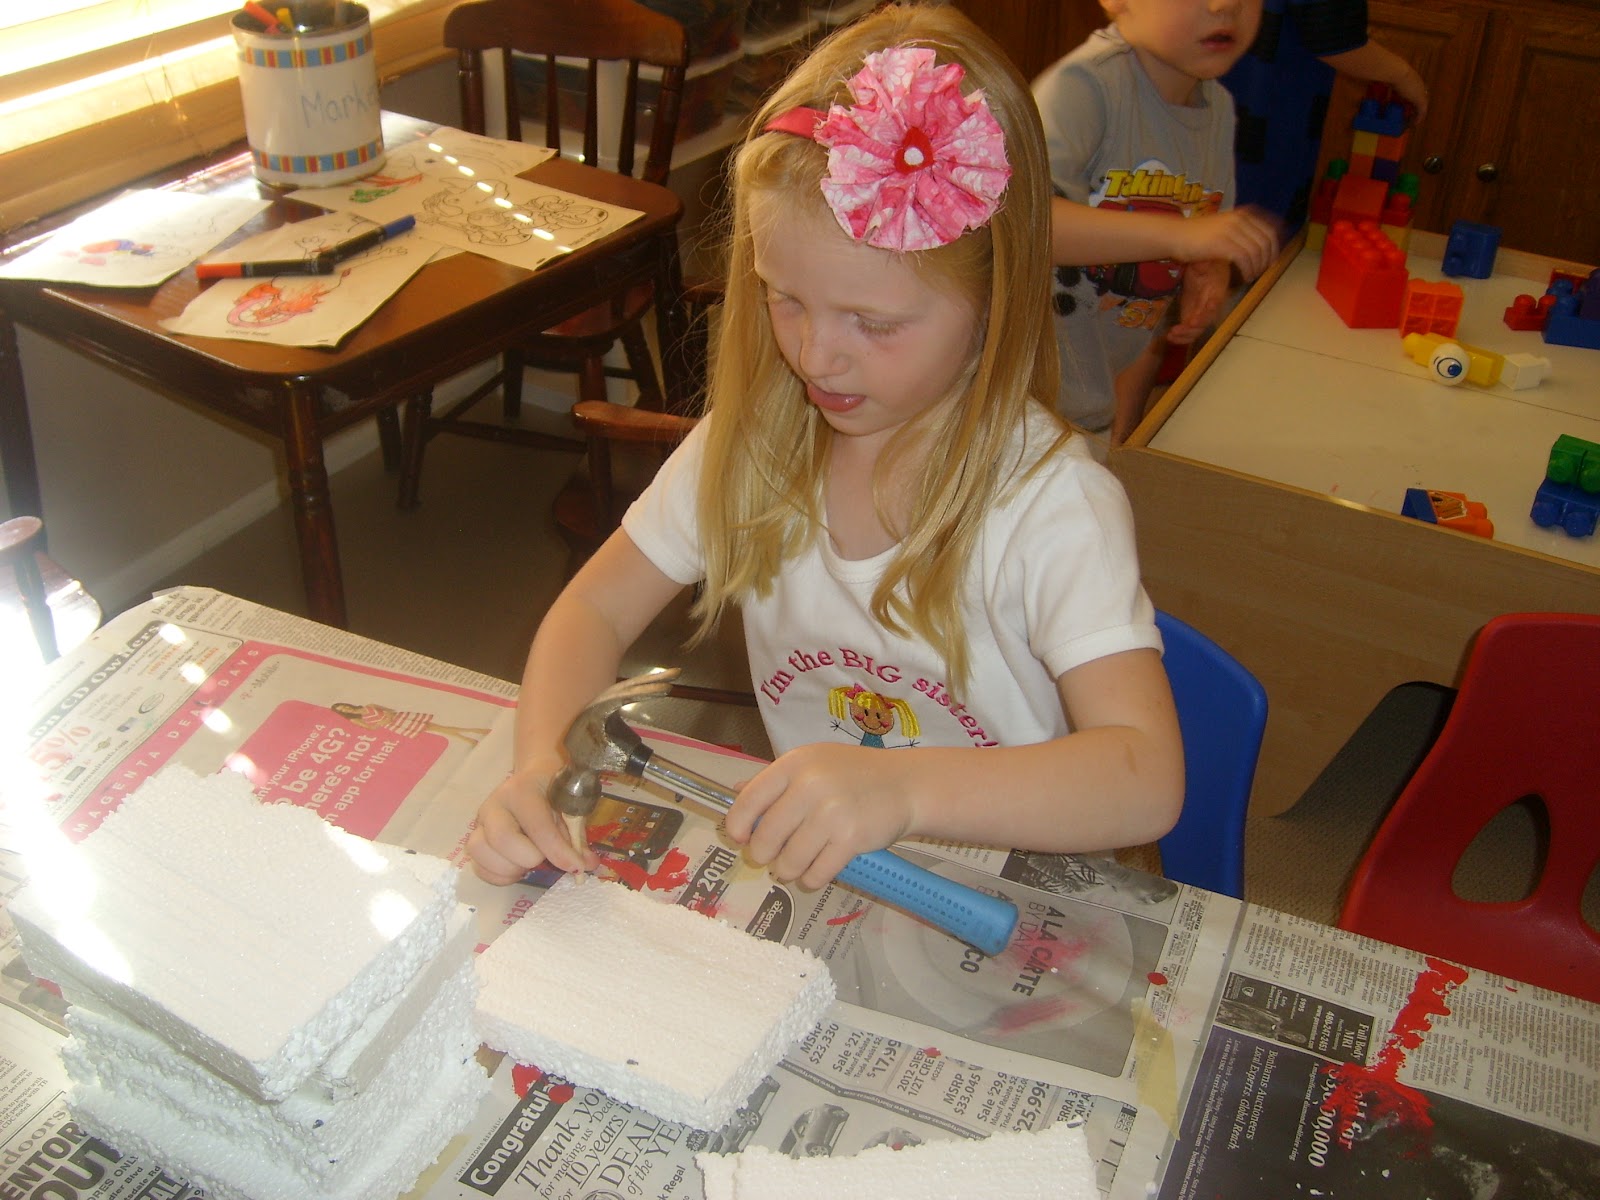
Anyway, I was more concerned about the building process than I was what it looked like in the end. I wanted the kids to have a chance trying their hand at using a hammer in a safe way. But, we were also working on geometry concepts as we talked about how many sides and corners a rectangle has as well as comparing the length of the sides. 


We tried using golf tees and also using large headed nails. The nails worked better, but in the end, all of the corners started to lean a little. Next time, I am going to try to find a really soft wood and use nails so that it doesn't lean. Anyone out there a carpenter and has a suggestion for a good soft wood? 

Want to make one?

Here's What You Need:
  • Thick styrofoam or thick, soft wood (I found styrofoam sheets at my local hardware store, Ace.) 
  • Small hammer
  • Golf tees or large nails
  • rubber bands
Here's What You Do:
  1. Cut the wood or stryofoam into rectangles
  2. Discuss how many corners and sides a rectangle has. Compare the length of the sides. Compare the difference between a  square and a rectangle. 
  3. Mark the corners with the kids leaving about a 1/2 inch edge on both sides 
  4. Nail the tees or nails into the marks
  5. Connect the nails with the rubber bands to create the sides of your rectangle. 


Saturday, November 19, 2011

Shooting Space Ships

Coolest activity ever! We made space ships that actually shoot up into the air using plastic cups and rubber bands. 
5, 4, 3, 2, 1 . . .
Blast off!


Miranda was so patient with me because it took a lot of tries before I got a shot of her rocket in the air. So sorry for the funny faces, but as we say at our house, "You get what you get and you don't throw a fit." 

I sincerely, recommend you try this activity because it is so much fun. When I made them and tried them out the night before, I had fun playing with them too. : )
Here's the rocket outline I made for this activity. Feel free to use it if you want.

Here's What You Need:
  • two plastic cups (they have to be the same size)
  • two rubber bands (thin rubber bands don't work as well unless you use a drill)
  • tape
  • scissors or a drill (if you have one)
  • rocket outlines
  • crayons
Here's What You Do:
  1. In one of the cups, cut 4 equally spaced slits on the top of the cup about a 1/2 inch long. Put a piece of tape at the top of the slit to prevent it from getting bigger. OR if you have a drill - Drill 4 small holes  equally spaced apart around the cup. This works much better because then the rubber bands don't slip out of the bottom.
  2. Cut one of the rubber bands and slip it into two opposite slits. Tie a knot on each end. (It should be fairly tight.) Repeat with the other rubber band. (You can see what it looks like in the picture above of the rocket flying.)
  3. Print out the rocket outlines. Color and cut out. 
  4. Tape rocket outlines to the rubber band cup. Pull the rocket cup down over the other cup and let fly!
I got the idea from familyfun.go.com.

Monday, March 28, 2011

Rosie's Walk

If you haven't had the pleasure of reading the book Rosie's Walk, I suggest that you run to your library and find it.The words in this book are really simple and the thing that really makes it special is that the pictures tell a completely different story than the words because it adds more details to what is going on. Rosie goes for a walk and unbeknownst to her a fox is trying to catch her. I used this book to talk to the kids about using the pictures to help us understand what is going on in the story (an important comprehension strategy).


After we read the story, we made our own Rosie the hen. Since it was letter R week we added some pretty red feathers to her tail using tissue paper. We started with this drawing that I did to look like Rosie.


Here's What You Need:
  • liquid glue
  • tissue paper cut into small squares (maybe 2 inches by 2 inches)
  • unsharpened pencils
  • crayons
  • copies of the hen

Here's What We Did:
  1. Color your hens.
  2. Put a dot of glue on the tail.
  3. Put the tissue paper on the table and put the unsharpened pencil in the middle of the tissue paper square.
  4. Take the edges of the tissue paper and wrap it up around the pencil.
  5. While holding the tissue paper to the pencil, put the paper in the glue and let go of the paper. Lift up the pencil so the tissue paper that is left forms a type of cup shape.
  6. Repeat until the surface is covered.


Ribbon Dancing


Who would have guessed that a ribbon on a stick was so much fun? We did ribbon dancing this week for letter R week. It was so much fun that one of our parents jumped in and joined the play when she was dropping of her student.

We listened a lot to the rhythm and followed the slow and fast parts of the music in how we moved. The kids had a lot of fun and it was great watching them enjoy a new way to move. Making these are really easy, it only takes about 5 minutes and can keep the kids busy and happy for a long time.

Here's What You Need:
  • 12 inch dowels
  • 3 inch wide ribbon of any color
  • hot glue gun
  • fray check or a lighter
Here's What You Do:
  1. Cut the ribbons to about 3 feet in length.
  2. To stop the end of the ribbon from fraying, either put fray check on the end or turn on your lighter and hold it on. While the flame is on, quickly run the cut edge of the ribbon through the flame to melt the edge slightly.
  3. Put a line of glue on one end of the ribbon.
  4. Lay the dowel over the glue and start rolling it.
  5. Add another line of glue and roll the ribbon more until the glue stops squishing out.
Easy peasy!

Friday, March 25, 2011

R is for Riding, Running, & Relays

I told the kids that there would be a surprise for them when they got back from spring break. And SURPRISE! We added a bike track to our backyard. We broke it in with a lot of fun activities like riding our scooters and bikes, running around the track, and doing some relay races. I am excited for a lot more fun as the kids enjoy this addition during recess time!