Showing posts with label Colors. Show all posts
Friday, September 22, 2017
Week 2: Color Wheels & Rhyming

Thursday, November 3, 2016
C is for Caterpillar Chain
We used our math skills to create pattern loving caterpillars during letter c week.
I provided each child with a premade caterpillar head and the kids used paper strips to give each head a body. The trick was that they had to add the chain links in a pattern.
Some of the kids did an abab pattern. Some did an abcabc pattern. One of our kids even did an ababcdcd pattern. It was fun to see them catch on so quickly.
If you want to make your own caterpillar chains, here's what you need:
8-10, 1 x 12 inch strips of construction paper in various colors per student
1, 2 x 12 inch strip of paper for the head per student in a different color
googly eyes
2 small strips of paper for the antennae (curl the strips around a pencil or with scissors)
Give each child a premade head and let them create a pattern for the body. It can help to have them create the pattern completely before they start adding chains to the head. Make sure to remind them that after they link the strip through the chain, they bring it up and over the other end of the paper. They often want to sandwich them together in a tear drop shape instead of a chain.
Happy learning!
Tuesday, November 1, 2016
Mixing Colors
We switched schools this year and our new school has a program where parents come in and teach art. It's pretty awesome for a state where art is not normally taught in elementary schools. My kindergartner came home with this amazing project last week and I had to share it. They used colored playdough to mix colors and create a color wheel.
It's so simple, so easy to do with a large group, and not remotely as messy as using paint.
(Sorry for the horrible picture quality, my daughter only let me have it long enough to snap a quick pic. :) )
B is for . . .
. . . butterflies painted with bubbles!
. . . balancing while picking up letter Bs
. . . blocks and learning numbers. Can you build a tower that high?
. . . bugs that you can eat! (Celery, peanut butter, and different types of pretzels)
Check out this post to get an idea of what we did then come back and read below to get more details on paint, dish soap, and water ratio.
I don't have exact measurements, but I'll tell you what I did. Then, you can experiment with your own ratios to see what works for you. I'm such a visual learner that I made a little picture. I used a little dixie cup for each color and did something similar to the picture below then mixed it all together.
I don't have exact measurements so try it out different ways until you get a ratio of paint, dish soap, and water that works for you. If you have too much water your colors won't be very vibrant. If you don't have enough water, you won't be able to blow bubbles.
After you have blown the bubbles, lay your paper on top of the muffin tin, then carefully lift it off without letting any of the colors drip. If you find some of your paper didn't get color on it, blow more bubbles and lay the white parts over the bubbles. Lay it flat and let it dry completely before moving it. Some of the paper will have thicker paint on it and but letting it dry just like that, it enhances the effect.
. . . balancing while picking up letter Bs
. . . blocks and learning numbers. Can you build a tower that high?
. . . bugs that you can eat! (Celery, peanut butter, and different types of pretzels)
| Just taking my caterpillar on a walk |

Monday, February 22, 2016
K is for Kite
So once upon a time I lived and taught in Arizona and when it was letter k week, it was January or February and the weather was beautiful and in the 70s. We found ourselves celebrating kite day like this:
Well, now I live and teach in Utah and when letter k day comes around, outside looks more like this:

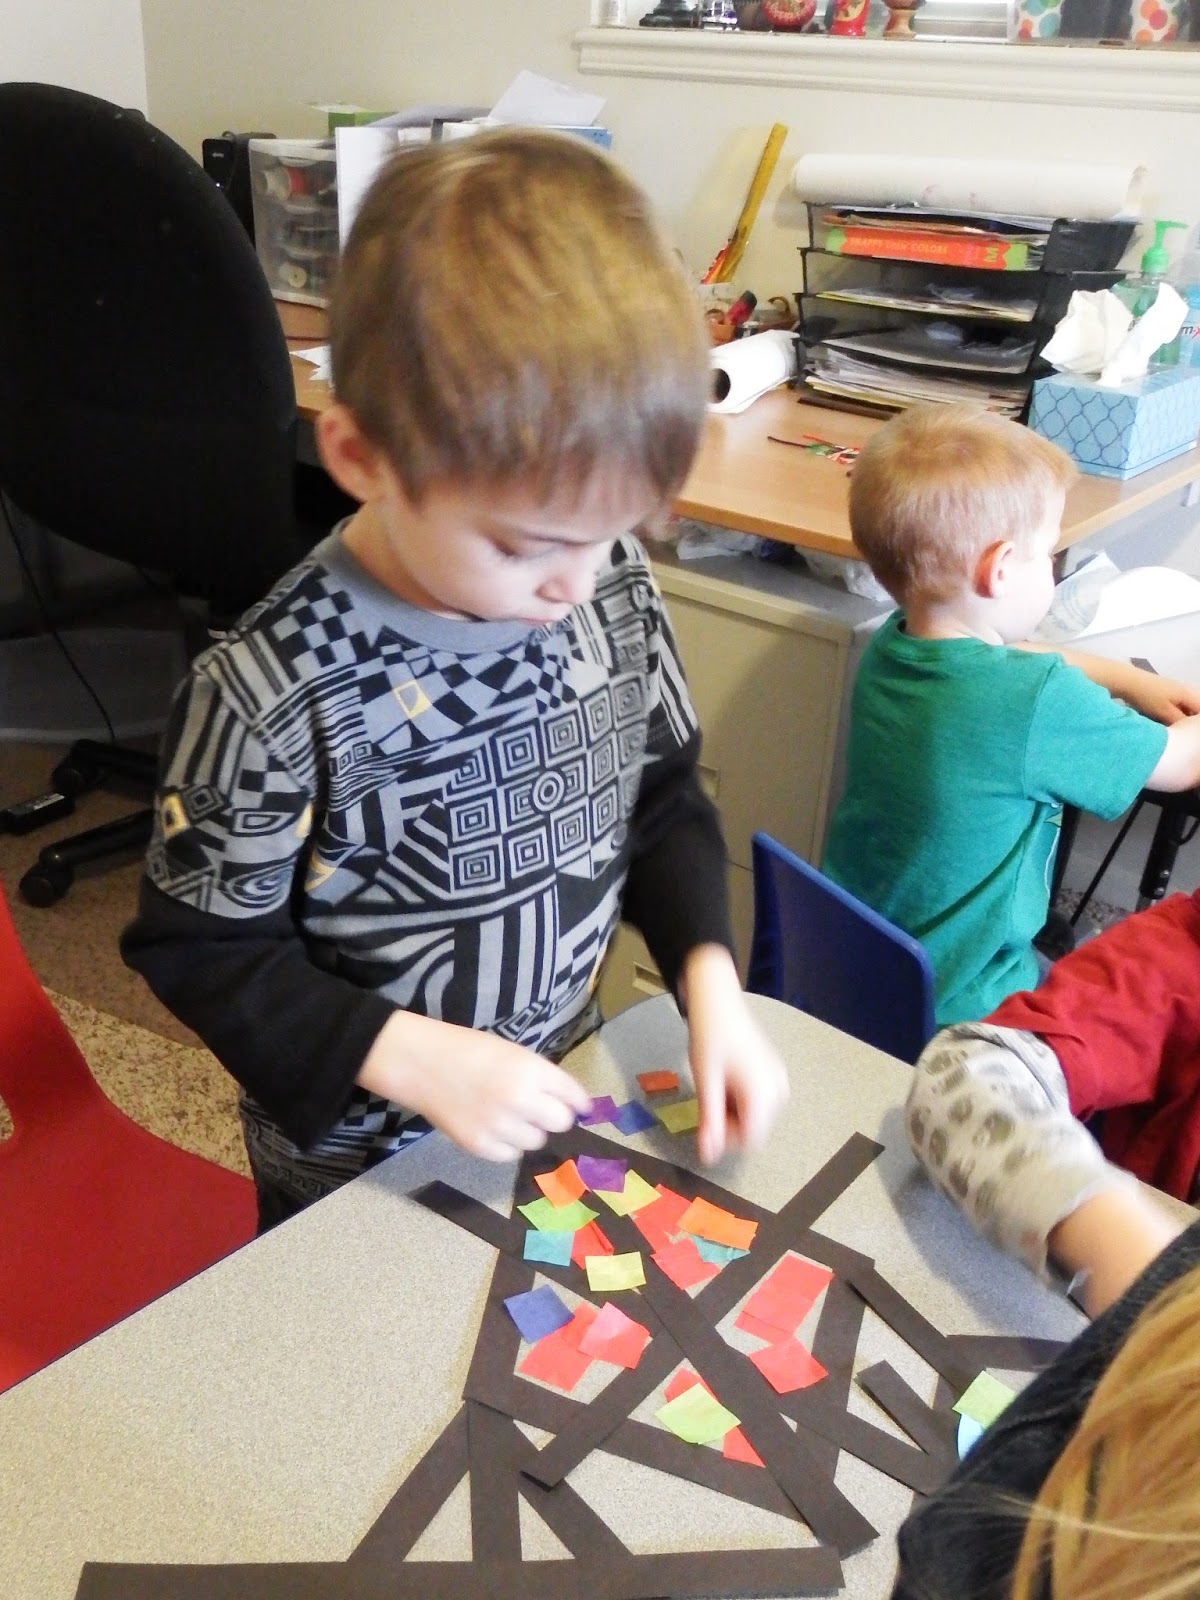
So our days of making real kites to go fly outside are over and we had to settle for pretty, artistic kites. It's okay, because the kids loved their pretty (non functional) kites too and pretended to fly them around the room. Here are some pictures of how we made our kites. I used the tutorial at Make and Takes.
Here's What You Need:
- clear contact paper
- black construction paper
- multicolored tissue paper squares
- yarn
- letter K cut outs
Here's What You Do:
Cut out a kite frame from the black construction paper and lay it on top of the sticky side of the contact paper leaving the inside sticky.
Cut the excess contact paper from the outside of the frame, but leaving the sticky inside.
Cut out black strips for the support "rods"
Put the tissue paper squares on the sticky part of the contact paper inside the frame and cover completely.
Your end product will look something like this:
Glue the letter ks to the yarn
Tape the yarn to the back of the kite.
Cover the back with contact paper so the kite is sandwiched between the first layer and this one. This holds the tissue papers in place.
Cut the excess black strips and contact paper off.
Sunday, November 1, 2015
Y is for . . .
Friday, September 18, 2015
Summer Fun - Rainbow Crayons
Sometimes you learn things about yourself that just kind of make you laugh. This blog is kind of like a filing cabinet for myself. I keep ideas that we've done and remember if they worked well or not and all that jazz. When getting ready for school starting I decided to start reviewing and tweaking my lesson plans for next year. I went to the letter z link and realized, there are no letter z activities posted.
This made me laugh because I do a letter z lesson every year, but is has never been posted because I am always behind, and then summer hits, and then I stop posting, and then the school starts again, and I start over posting stuff from the beginning of the year, which is, you guessed it, letter a.
Silly Miss Laura. Anyway, this isn't a letter z post either. Hahaha. It should be, but, well, it's not. Maybe someone needs to send me weekly words of encouragement that I can get the year done before school starts. I will work for chocolate if that interests anyone. :)
I think I miss posting things because I am feeling really chatty. How was your summer? Mine was crazy, but I have been learning some really cool stuff with all the classes I am taking. Ok, for real.
Rainbow Crayons.
Amidst the crazy, my kids and I did an impromptu craft project. We made some rainbow crayons. We ended up using them for party favors, but we have also used them for Valentines, put them in church bags, or kept them in my purse with a small notebook for times when you unexpectedly have to wait and you haven't brought a bag of toys like you might normally do if you knew you were going to wait with children in tow.
It's really easy and a great thing to do with all your broken, left over crayons. I don't know about you, but left over crayons are abundant in our house. Ours live in a can, yours might live in a pencil box or a bag or a box, but I know they are lurking around your house somewhere. This is a great solution for what to do with them instead of throwing them out. Plus, this makes a great rainy day project.
Some brands melt better than others and I'm sure there's a scientific reason, but we just threw whatever we had into the mix.
1. Gather your broken crayons. Peel them, and break them into 1 inch or smaller pieces.
2. Put them into an oven safe, shaped muffin tin. We had hearts on hand so that's what we did, but you can always do it in a regular muffin tin if you want.
3. Put pieces into the tins and fill them pretty full.
4. Bake at the lowest temperature possible for about 30 minutes. Each oven/crayon type is different, so just keep checking back until all the crayon pieces are melted.
5. Carefully take them out of the oven without swirling or mixing the colors.
6. Let harden, then take out of the tins by tapping them on the floor and slightly bending them.
I know some people use a separate pan that they only use for crayon melts. We used one we normally bake with. After we were done, I scrapped all the hardened crayon bits off, then ran it through the dishwasher and it was fine.
Thursday, October 2, 2014
Letter B
B is for . . . .
. . .bubble art (We had a fun time blowing bubbles, watching the colors mix, and talking about what you get when you mix two colors) (Click here for a more detailed post on how to create bubble art.)
| Bubbles + paint= cool medium for making patterned paper |
| Even the mess is pretty! |
. . .balancing (Can you pick up the letter B while balancing on a board?)
. . .bowling
. . .bug snack (we made bugs using celery, peanut butter, and straight/regular pretzels)
Subscribe to:
Posts (Atom)