Home

Meet The Teacher

Class Information

Registration

Tuition

Schedule

Curriculum

Philosophy

Contact Me

Songs

Showing posts with label Letter K. Show all posts

Monday, February 22, 2016

K is for Kite

So once upon a time I lived and taught in Arizona and when it was letter k week, it was January or February and the weather was beautiful and in the 70s. We found ourselves celebrating kite day like this:

Well, now I live and teach in Utah and when letter k day comes around, outside looks more like this:


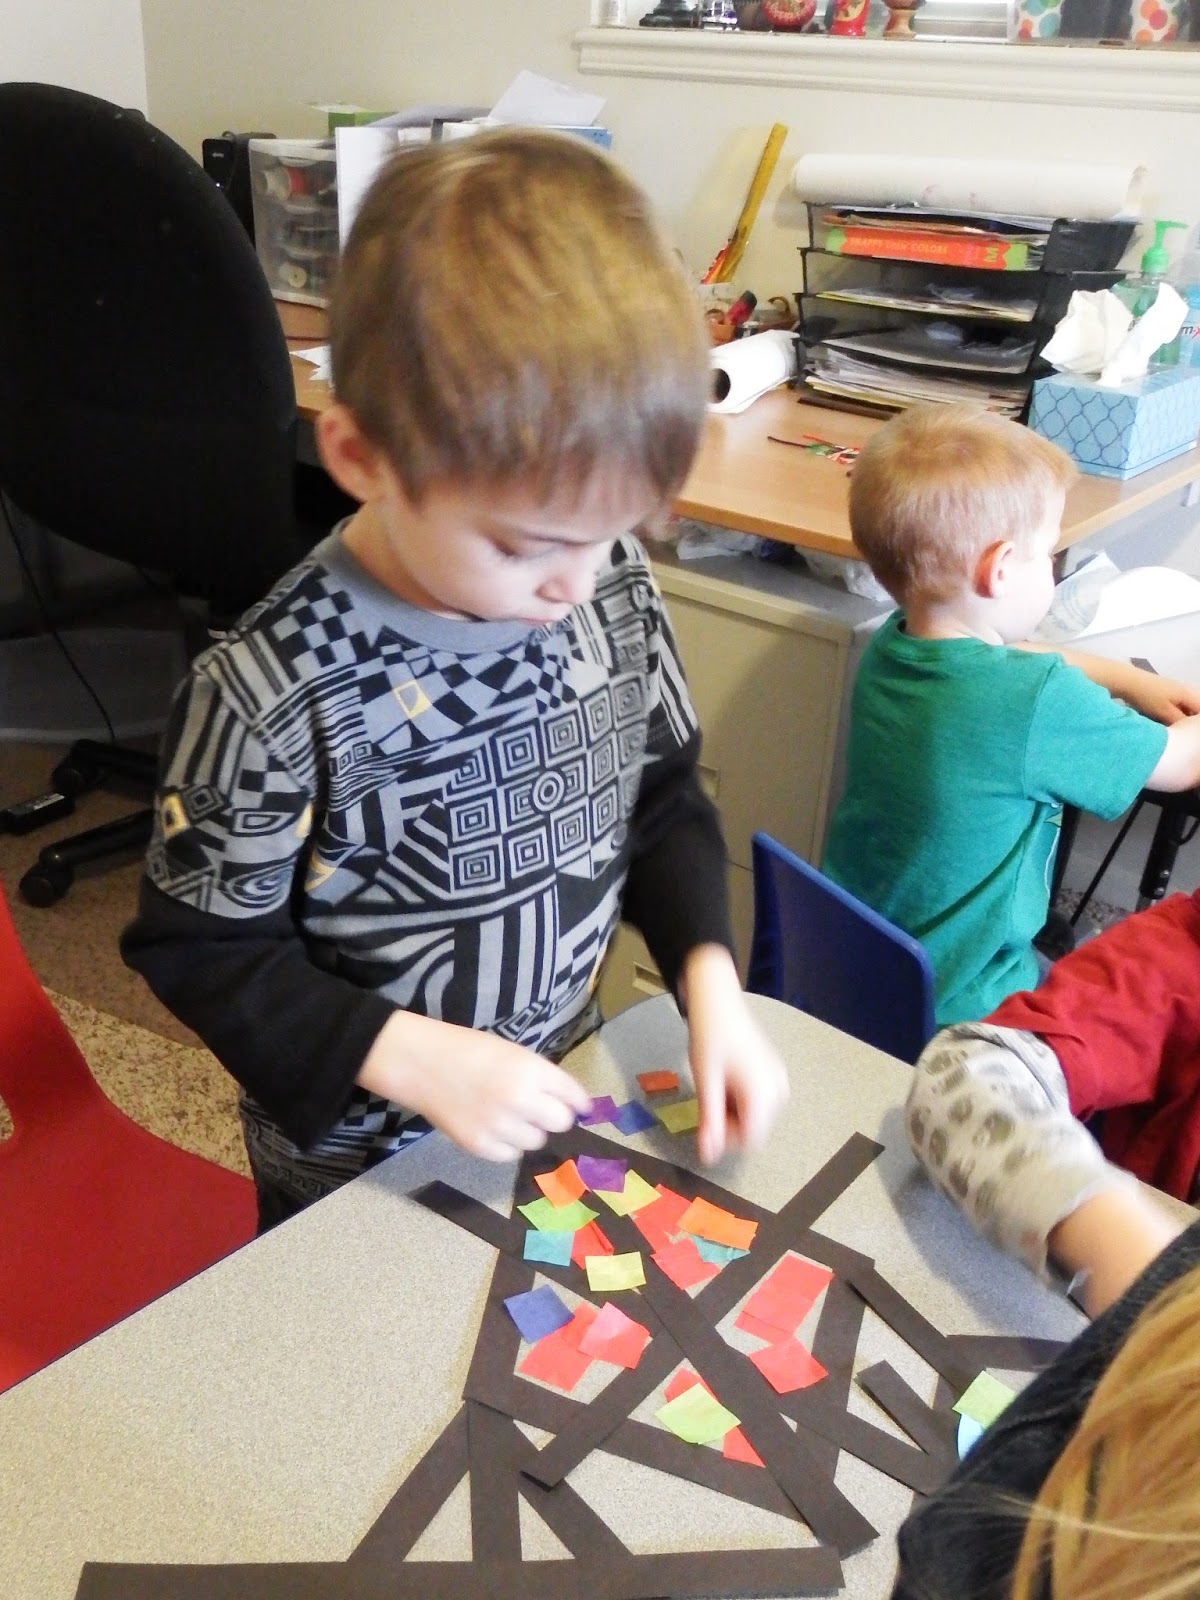
So our days of making real kites to go fly outside are over and we had to settle for pretty, artistic kites. It's okay, because the kids loved their pretty (non functional) kites too and pretended to fly them around the room. Here are some pictures of how we made our kites. I used the tutorial at Make and Takes.


Here's What You Need:
  • clear contact paper
  • black construction paper
  • multicolored tissue paper squares
  • yarn
  • letter K cut outs


Here's What You Do:
Cut out a kite frame from the black construction paper and lay it on top of the sticky side of the contact paper leaving the inside sticky.
Cut the excess contact paper from the outside of the frame, but leaving the sticky inside.
Cut out black strips for the support "rods"
Lay the strips across the frame in whatever pattern you want. 
Put the tissue paper squares on the sticky part of the contact paper inside the frame and cover completely.
 Your end product will look something like this:
Glue the letter ks to the yarn
Tape the yarn to the back of the kite. 
Cover the back with contact paper so the kite is sandwiched between the first layer and this one. This holds the tissue papers in place. 
Cut the excess black strips and contact paper off.

Tuesday, February 16, 2016

K is for Kangaroo


A bunch of joey kangaroos took over our preschool with their kangaroo pouches and their jumping around.

They were focused on filling their pouches with things that start with the letter K. 

They found these pictures around the room and decided which picture would fit into their pouch and took that picture out of an envelope. 

It was a lot of fun using our imaginations and learning at the same time.

Here is a tutorial on making the kangaroo pouches. 


Sunday, January 4, 2015

K is for King


We made Winter King crowns using jewels and snowflakes to go with our book, Winter King, Summer Queen. 

Product Details

Friday, January 25, 2013

K is for Kangaroo

I made this kangaroo pouch for letter K week. Anya absolutely loves it. She wore it all day and it is still a staple in her dress up wardrobe. Yes, it did involve sewing, but don't stop reading! I promise, it is a no fuss project. It seriously too me 10 minutes to cut and sew this bad boy. If the sewing machine and you are not the best of friends, you can still do this. So, please stick with me and I promise, it will all turn out okay! Just make sure to read the whole post before you write this project off.

For anyone who can sew a straight stitch on a sewing machine or can hand stitch, Here's What You Do:
  1. Cut out two identical pouch shaped pieces from brown felt. 
  2. (Optional) Cut out a letter K from a different colored felt.
  3. Cut two long pieces of ribbon.
  4. Sew the letter K onto the right side of one of the pieces of felt.
  5. Stack pouch, ribbon, pouch with right sides of the fabric together and the longest parts of each ribbon inside the stack.                                                                        
  6. Sew a 1/2 inch border around all sides except the top.
  7. Flip right side out.

If you don't want to sew, you could do the same thing with cardstock and glue or a stapler. Happy hopping!

Monday, February 27, 2012

King of the Jungle & Kites

K is for King of the Jungle! We used bulletin board borders to make these jungle themed crowns for letter K day! 
 
The kids colored and cut out the K shaped King then glued them onto the border. Then we stapled it together to make a crown. 

Feel free to use the lion picture for your King of the Jungle project.  


We made our homemade kites again this year and the kids had a lot of fun. To check out the step by step instructions, see our original kite post here


Friday, May 6, 2011

Let's Go Fly a Kite!


Since we were talking about spring this month, I thought it would be really fun to make kites. This project ended up being one of those exciting moments when you're goofing around and you create something great! I kind of frankensteined a bunch of kite ideas I saw online so when I made it and tested it out, I was thrilled that it flew and that it flew pretty well for a homemade kite. It's kind of a hybrid kite meets paper airplane.

Here's What You Need:
  • Construction Paper
  • Crayons
  • String or yarn
  • Tape
  • Small Hole Punch
  • Bamboo Skewer
  • Scissors
  • Crepe Paper
Here's What you Do:
(This is just a picture to help show what it will look like, it isn't meant to be printed as a pattern. The dotted lines are the places you will fold.)
  1. Fold the construction paper in half.
  2. At the top mark a line 1 inch from the folded corner.
  3. At the bottom mark a line 2 1/2 inches from the folded corner.
  4. Connect the lines.
  5. Draw butterfly wings using the line you just drew as the body of the butterfly. Try to conserve as much of the paper as possible. Cut out the wings and body while your paper is still folded so they are symmetrical.
  6. Decorate the butterfly using crayons.
  7. Fold on the lines you drew for the body and tape the wings together with a long strip of tape to make a flat top.
  8. Cut bamboo skewer to 9 inches. I found that the best way to cut it without splintering it is to notch it with the scissors at the length that you want. Then put your two thumb nails into the notch back to back and snap it.
  9. Using small strips of tape, tape the bamboo skewer across the top of the wings.
  10. Punch a hole about 3 inches down on the body and reinforce it with a piece of tape.
  11. Tie about 3 yards of string to the hole. (Anyone like my homemade kite stand? Yup, that's playdough we used during center time. : )
  12. Tape two 12 inch pieces of crepe paper to the body, one on each side of the end. It is important that the strips are the same length or your kite will fly in circles.
  13. Take it outside and enjoy your kite!

Tuesday, January 25, 2011

K is for . . .

Keys - We did key rubbings for letter K week.
King - We made winter king crowns.
We read the book Winter King, Summer Queen.

The story talks about how the seasons were made. After reading the book, we make our own winter king crowns. It's pretty self explanatory, snow flake cut outs, construction paper, white crayons, pipe cleaners, and tape!